
Hardware Overview
All about the bits and bobs
22 December 2021 by Kevin McAleer
Bill of Materials
| Item | Description | Qty | Approx Price | Total |
|---|---|---|---|---|
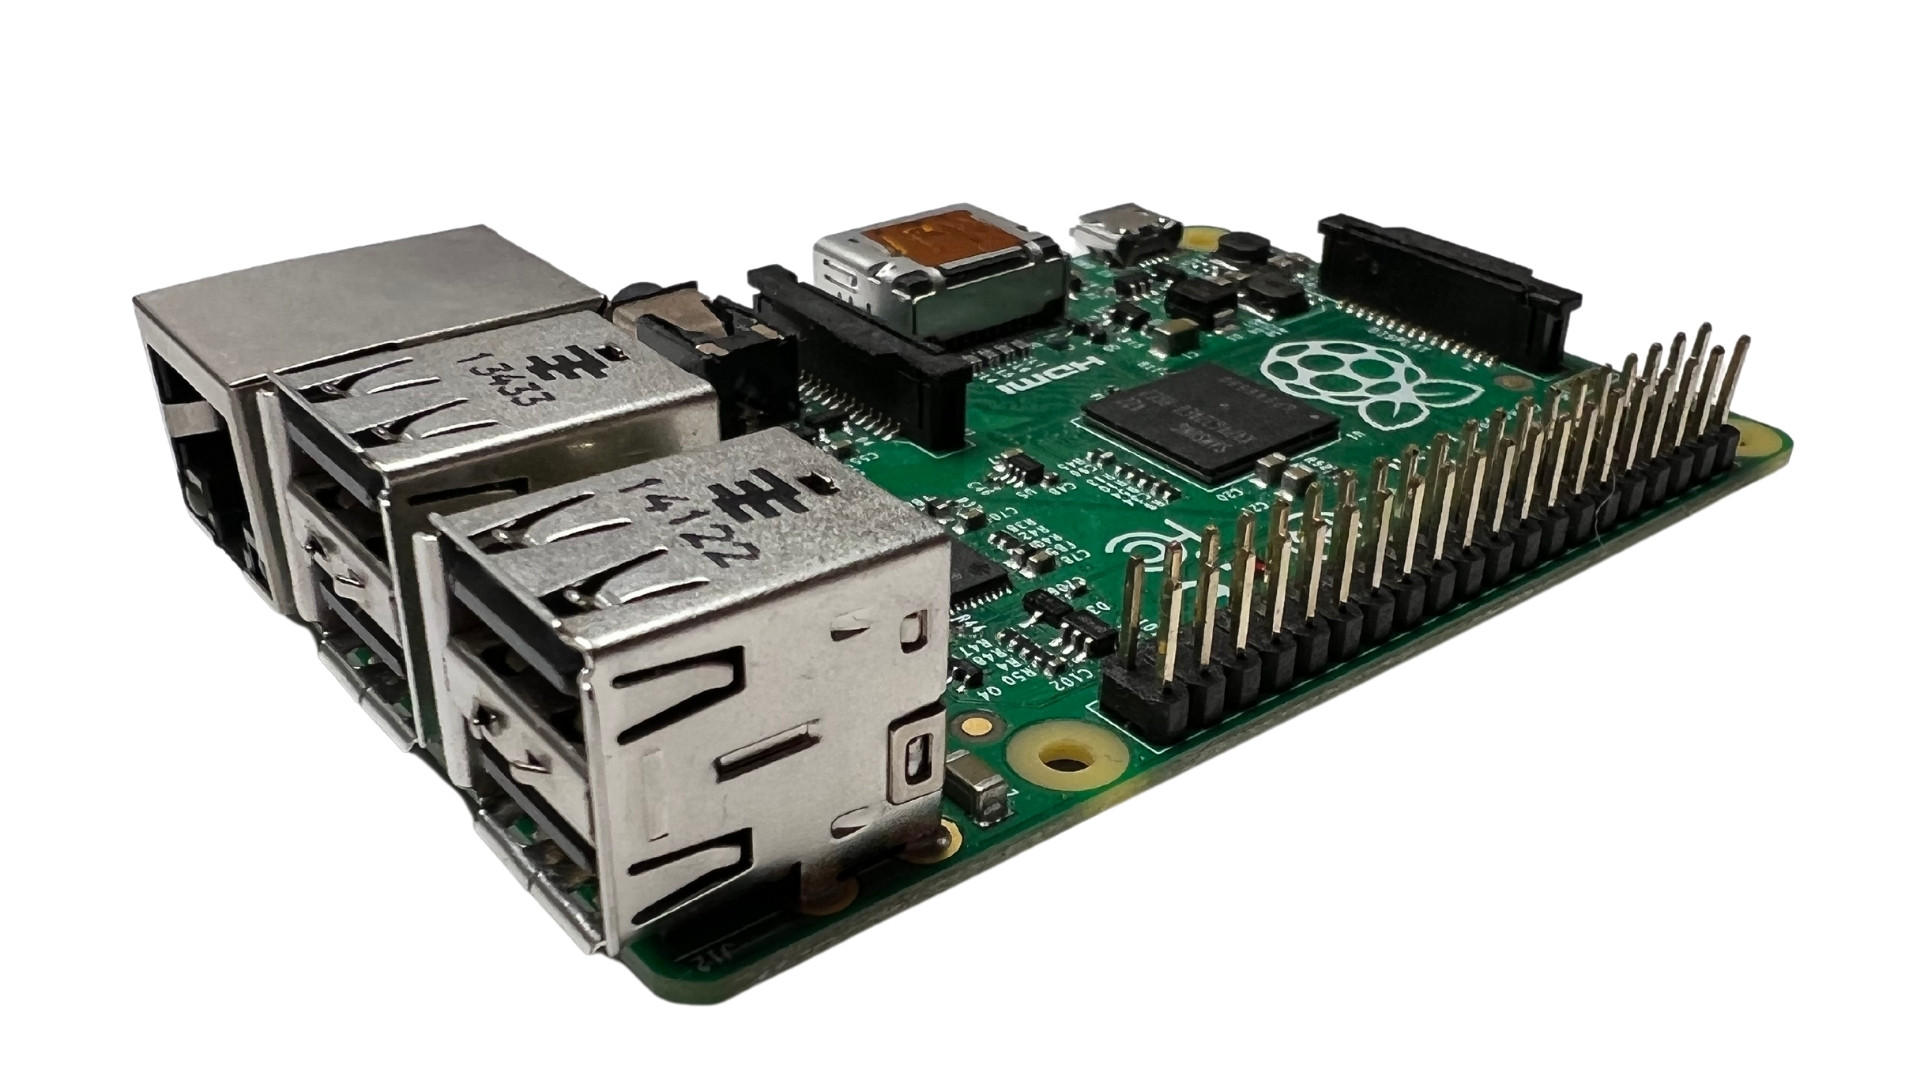 |
Raspberry Pi 4 | 4 | £58 | £232 |
 |
64sdGb SD Card | 4 | £15 | £60 |
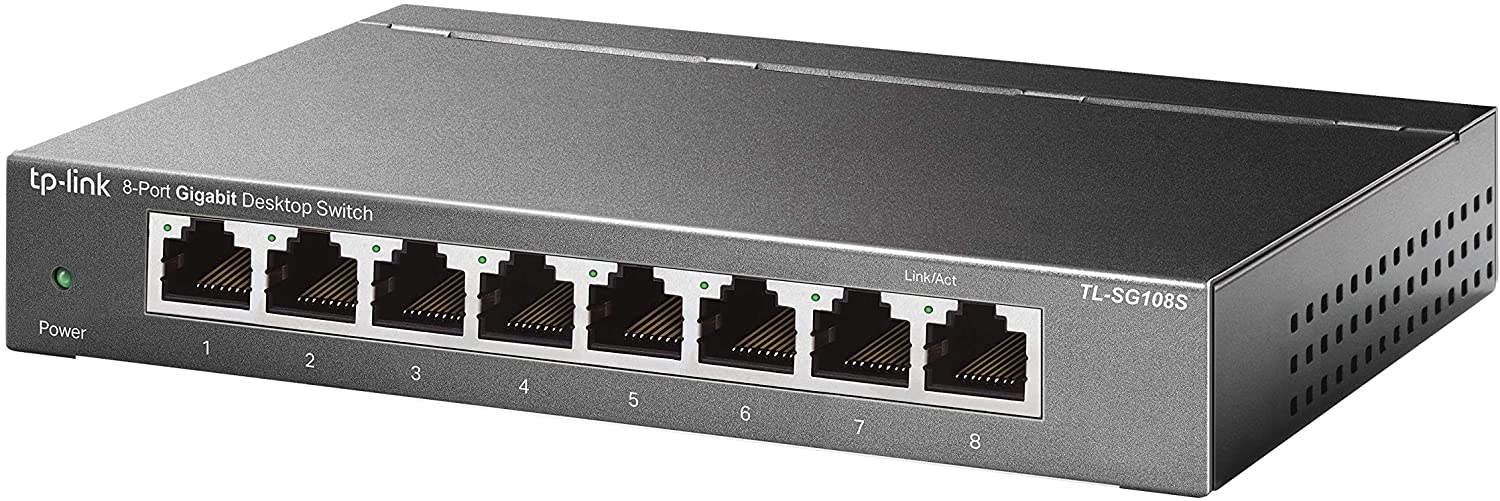 |
Network Hub | 1 | £18 | £18 |
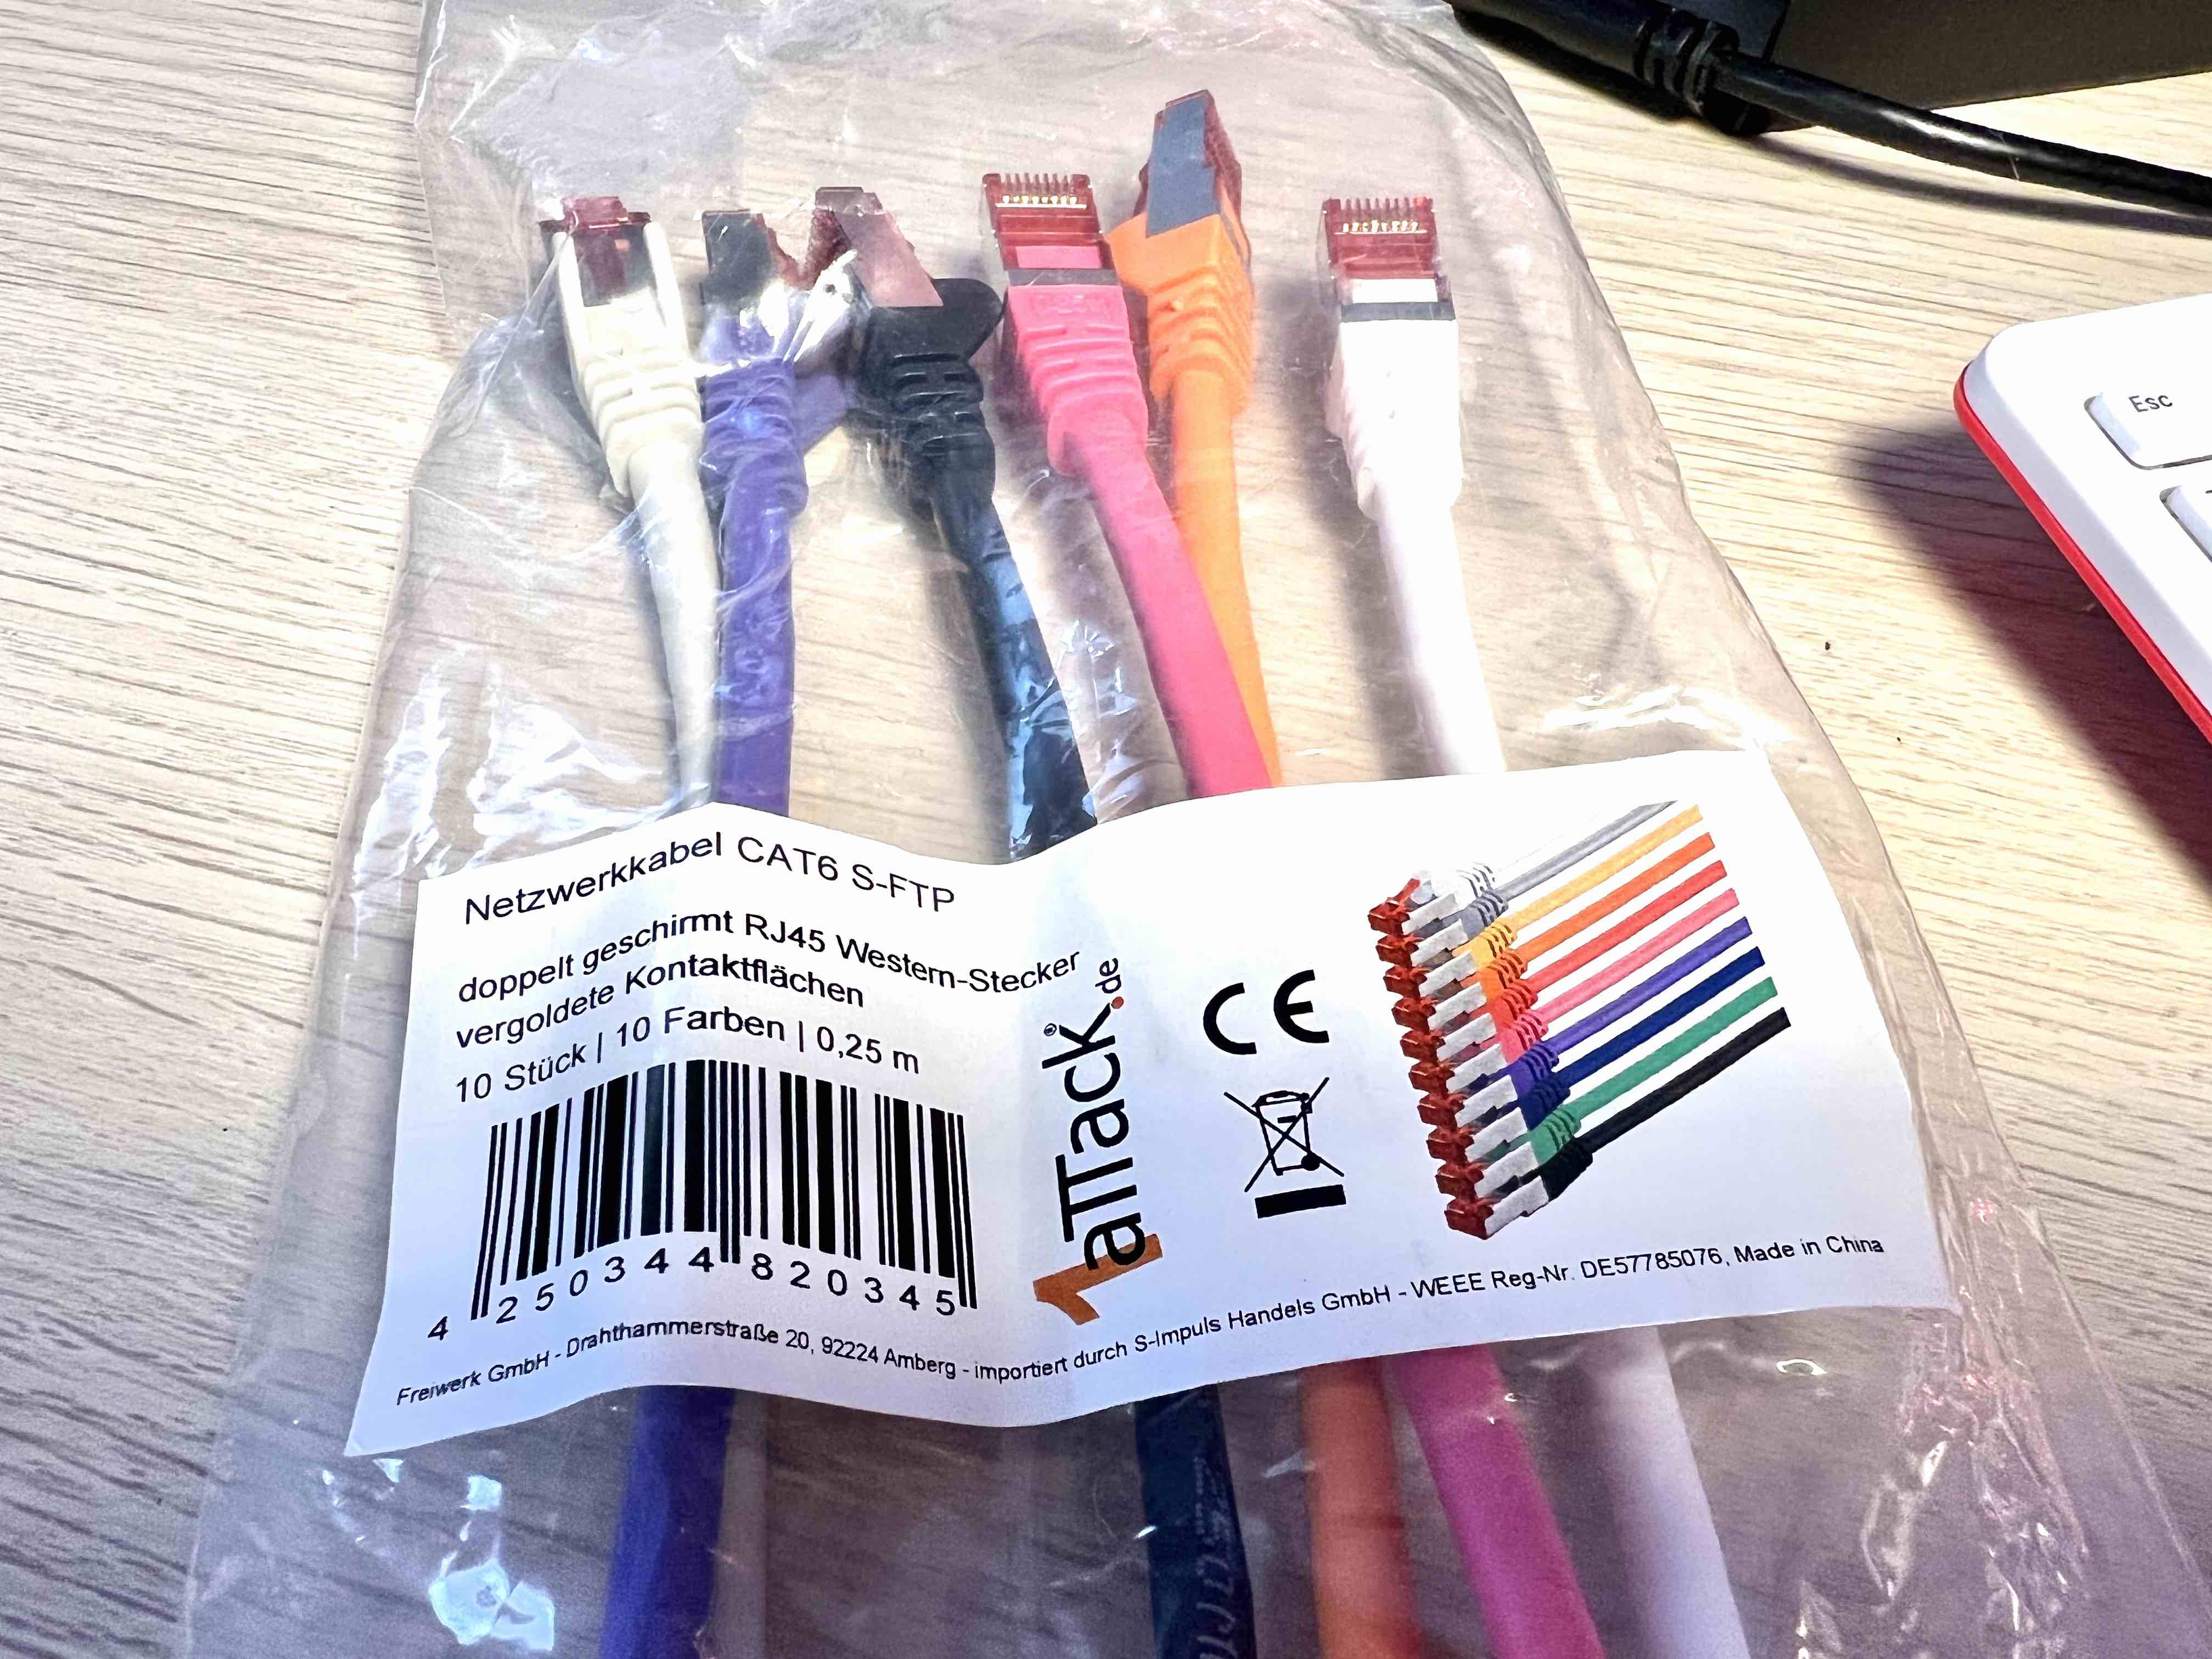 |
CAT6 Cables | 1 | £13 | £13 |
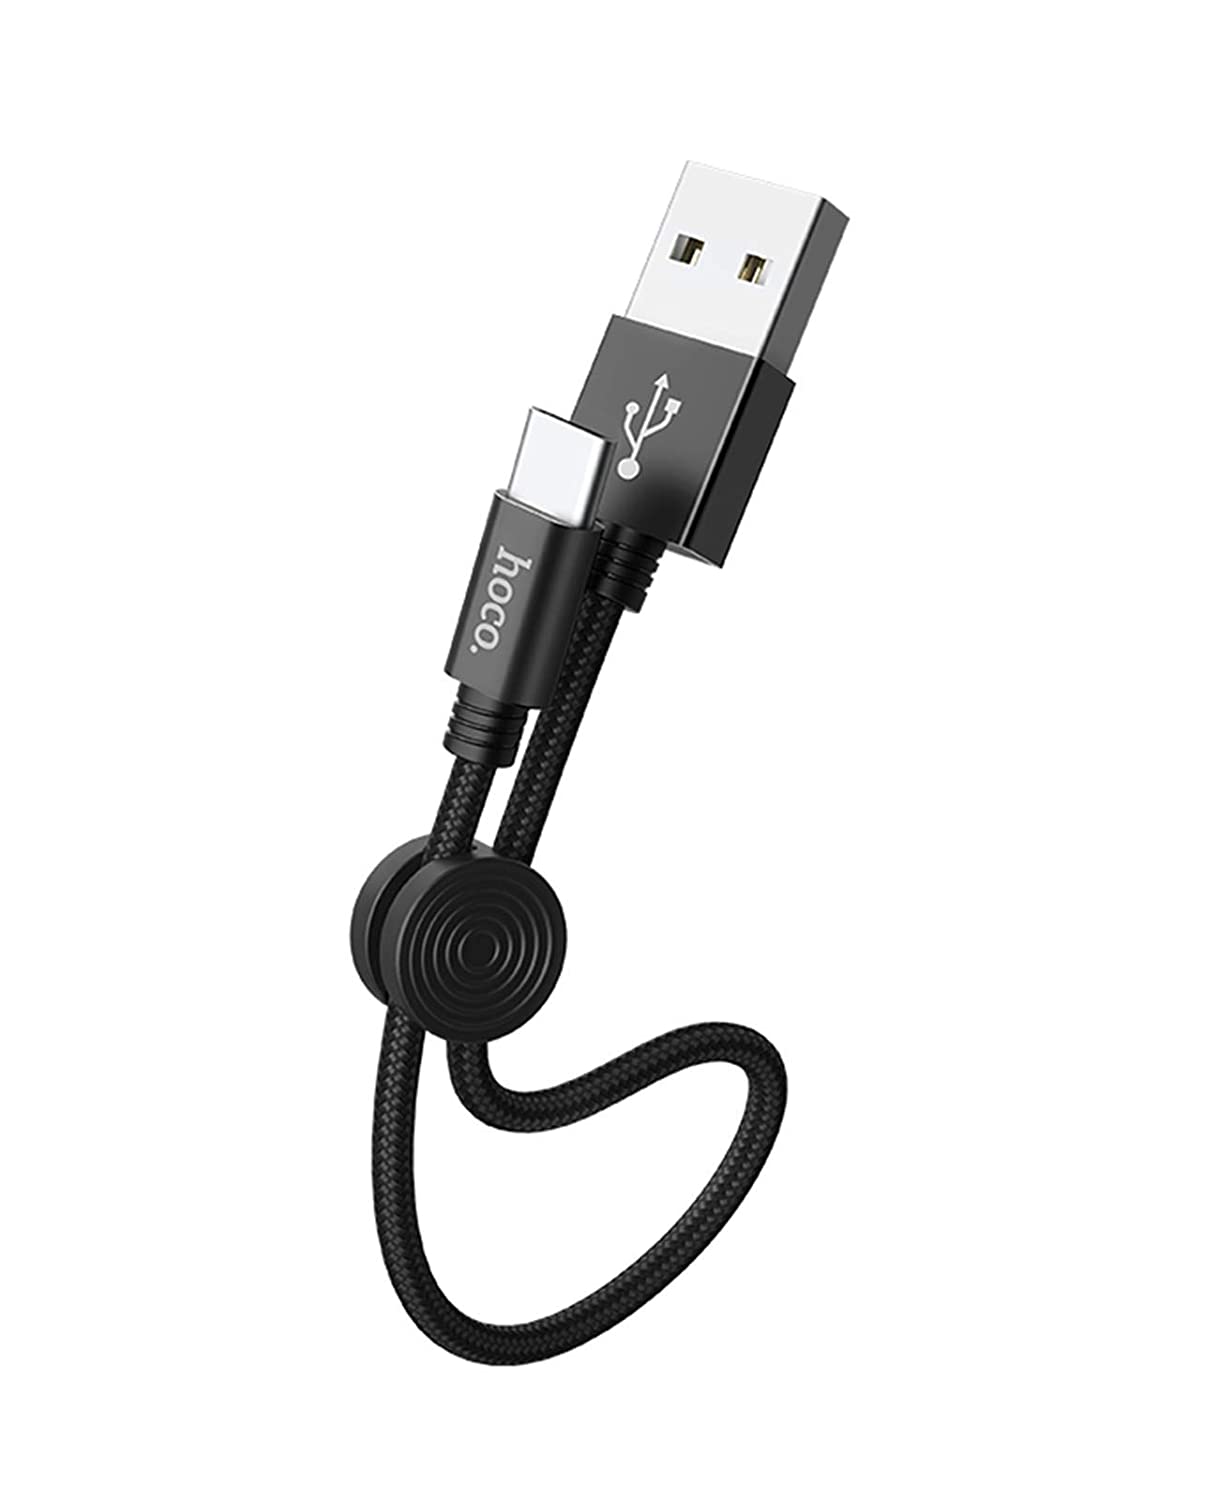 |
USB A to USB C Charging Cables | 4 | £6 | £24 |
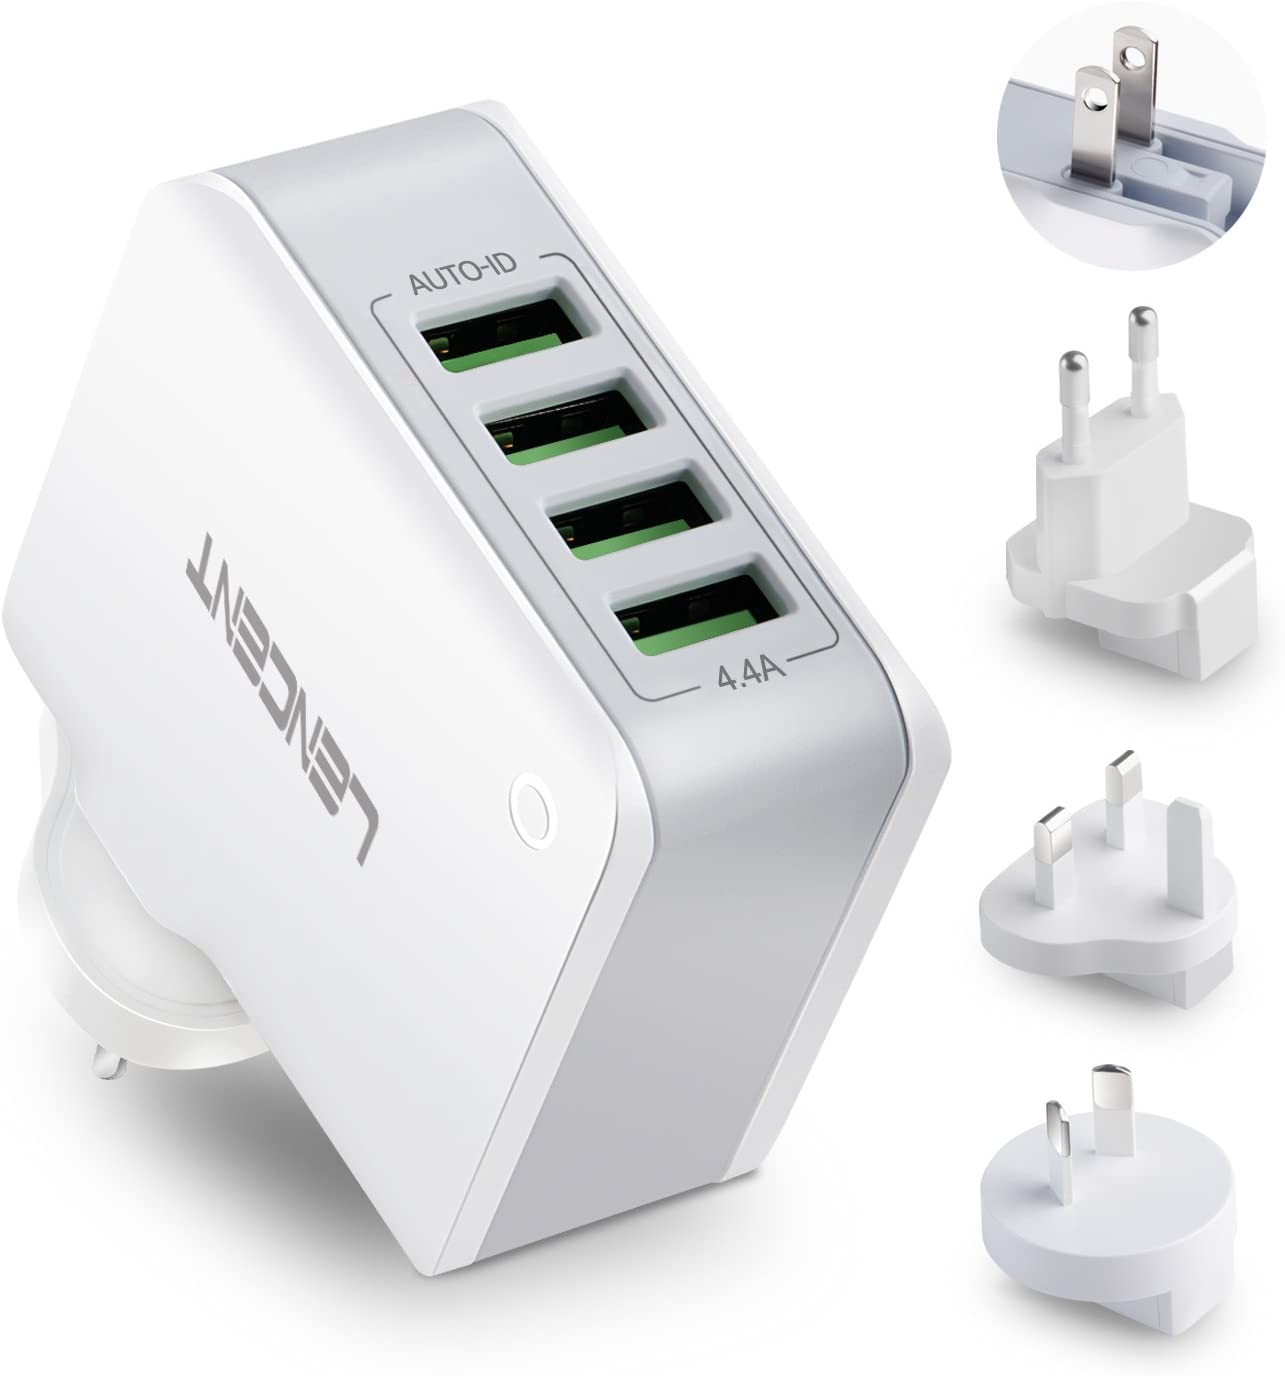 |
USB Charger - 3A per port | 1 | £15 | £15 |
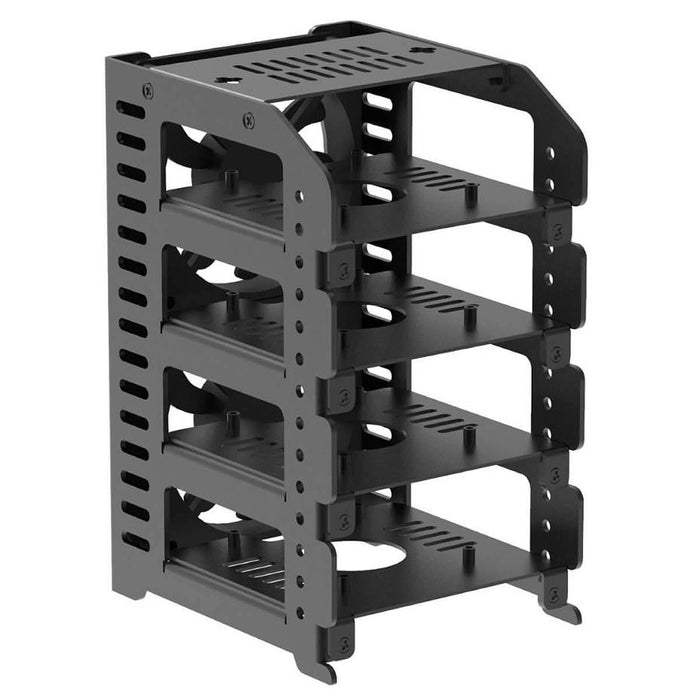 |
Raspberry Pi 4 Chassis | 1 | £42 | £42 |
| Grand Total | £404 |
Raspberry Pi 4
Clustered-Pi consists of 4 Raspberry Pi 4 computers. Each one has slightly different sizes of memory, which is more to do with when they released these than a design choice.
 Raspberry Pi 4, 8Gb
SD Cards
I recommend getting a branded SD card, from a reputable supplier; in my experience unbranded SD Cards only last a couple of months under reasonable use, whereas the branded ones, particularly those designed for heavy write demands last years.
 64Gb SanDisk Extreme SD Card
Disk Imaging
I used the official Raspberry Pi Imager
Configuration
Each node has a hostname that is unique:
node01node02node03node04
You set the hostname when first booting up the Raspberry Pi, or later using the raspi-config command, from the terminal.
Network hub & Cables
Lets look how to wire this all up.
Network Hub
I purchased a cheap 8 port network hub (a TP Link 8 port Gigabit Desktop Switch). This gives some room for expansion later on, and doens’t take up too much space on the desk.
It also just happens to be the perfect size to sit underneath the Raspberry Pis.
Network Cables
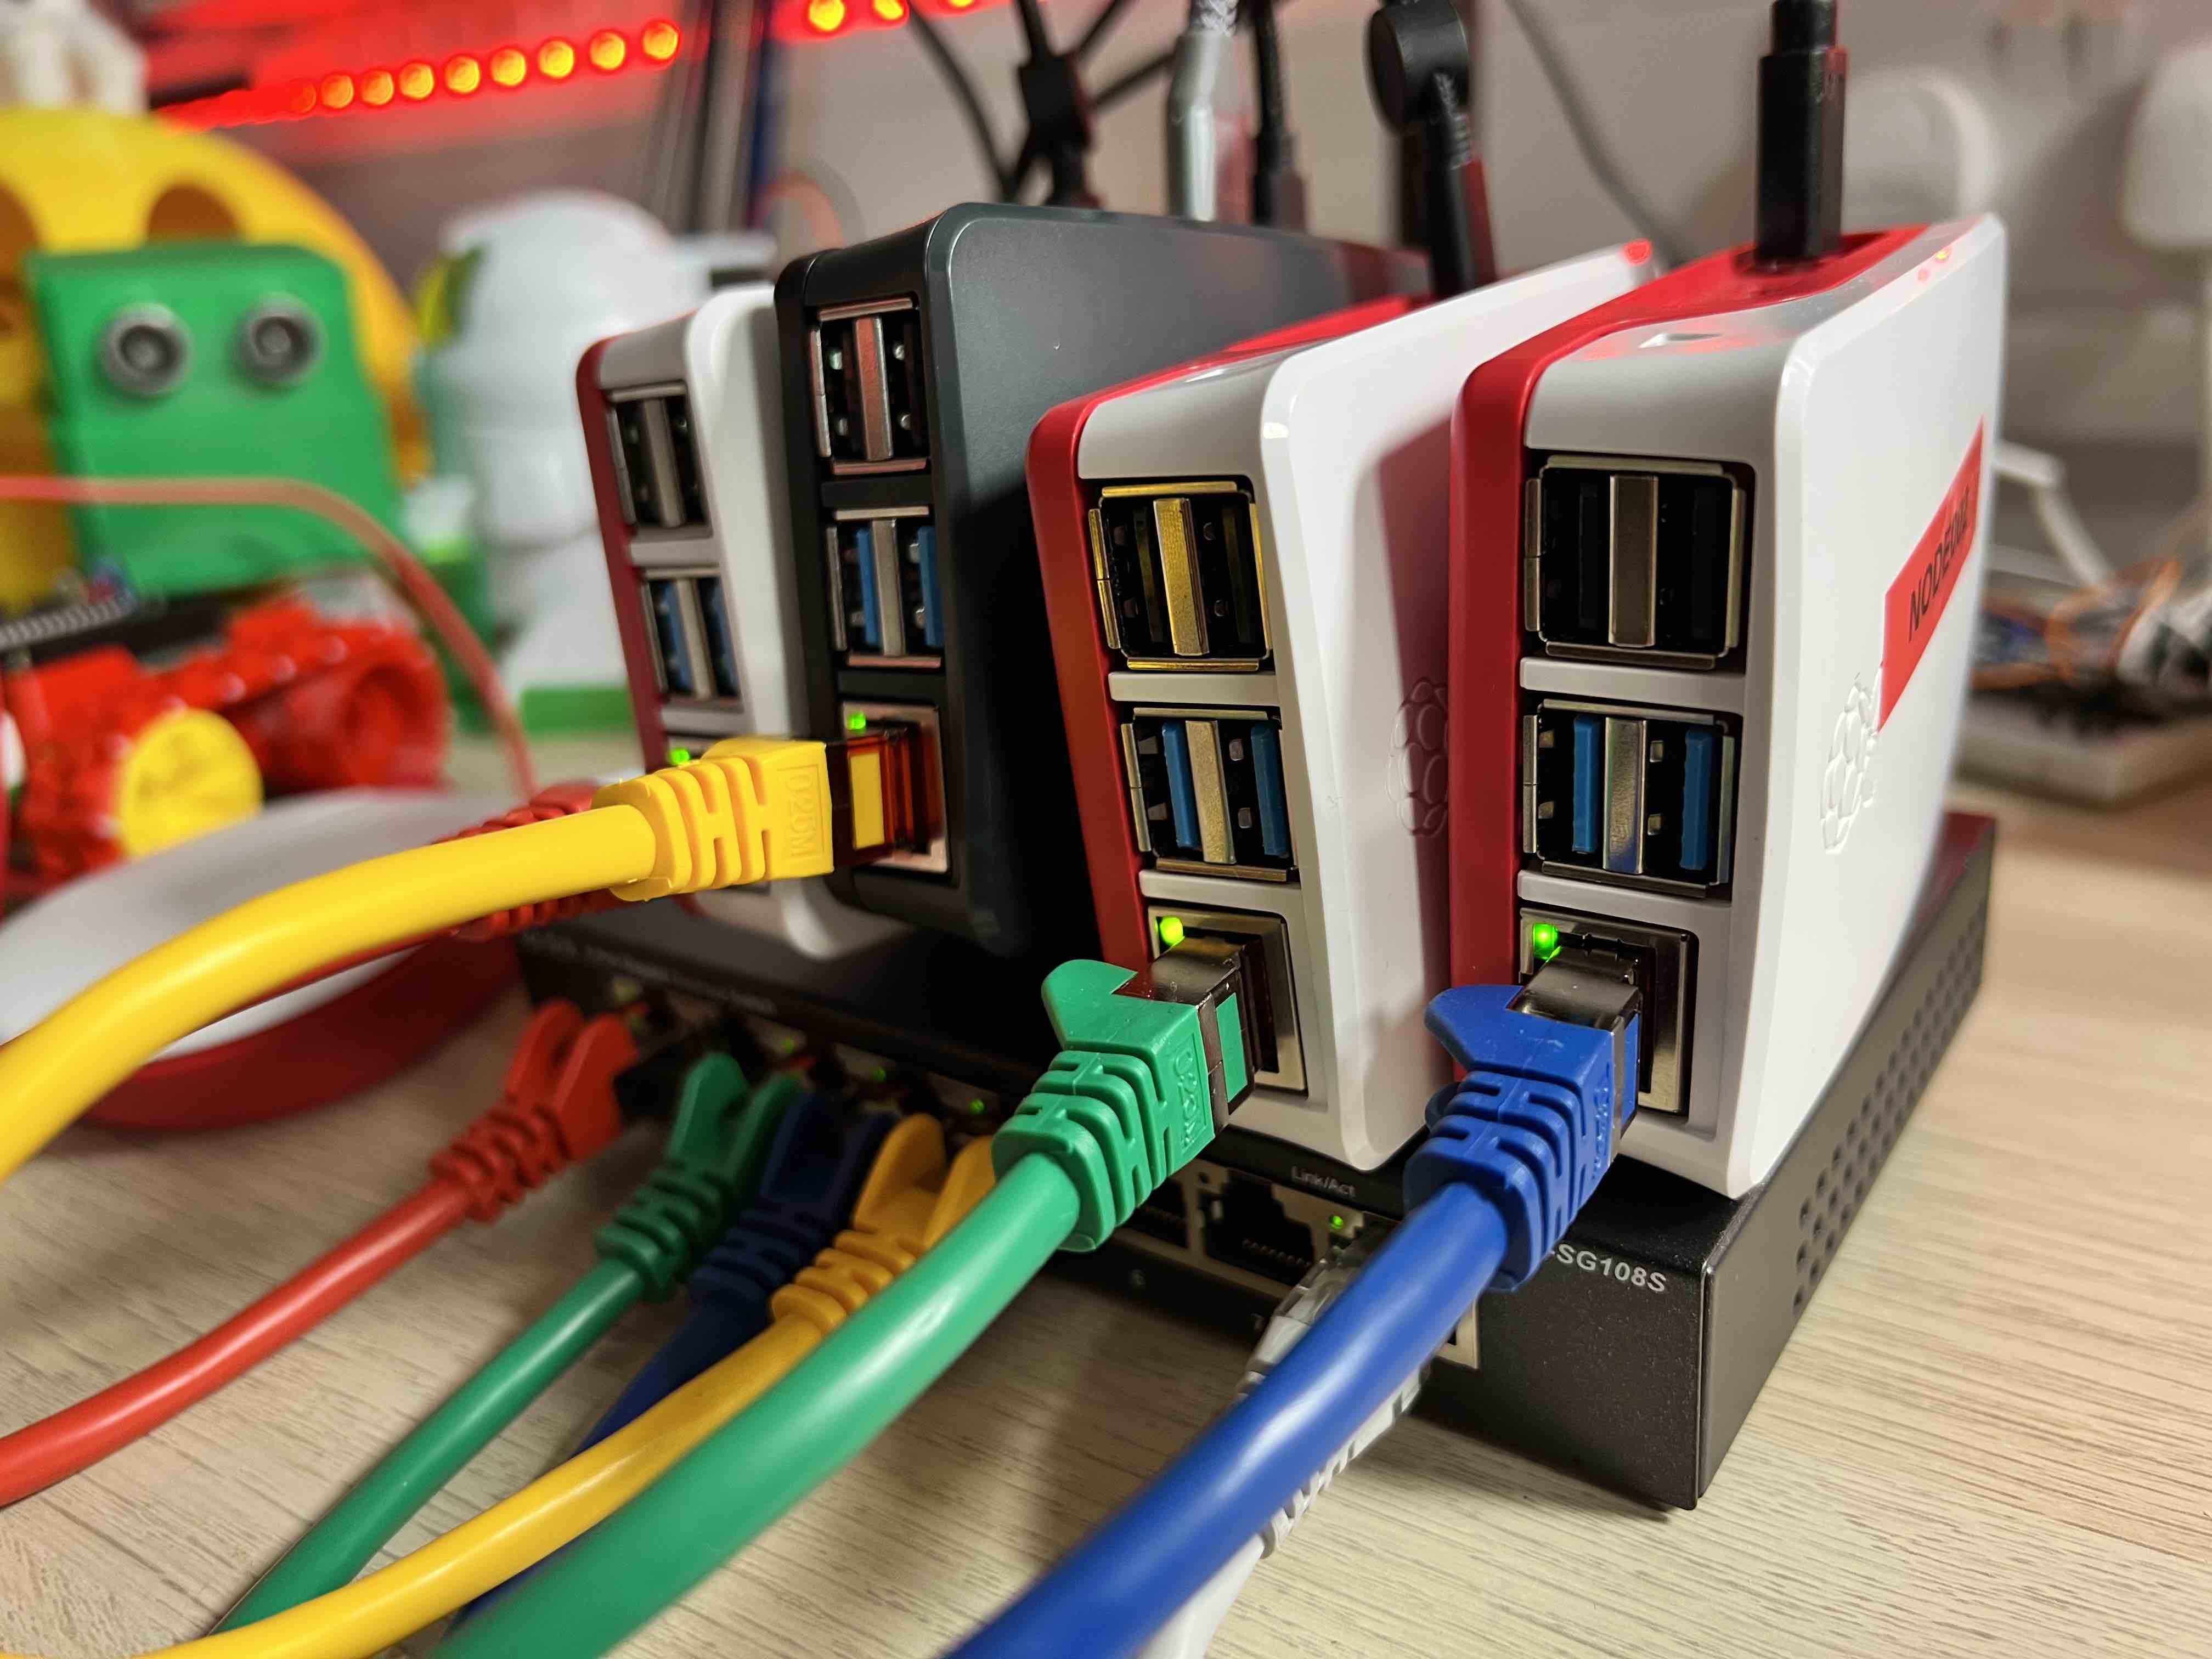
I also bought bunch of colourful patch CAT6 cables to connect the hub to each Raspberry Pi. The cables are only 25cm long, so they fit neatly into the pi’s and hub.
 |
 |
| Network Hub | Cables |
The network hub is connected to my router, so I can connect to them from my laptop, and more importantly, they are connected to the Internet so they can download Docker images.
Chassis & Power
Lets get our Pi’s Racked and stacked.
Cluster Chassis
I originally had the Raspberry Pi’s in their cases, just sat on top of the network hub, however this was shortly improved by purchasing a purpose built chassis. Not only does it make the Raspberry Pi’s more structurally stable, it provides additional cooling via 2 large fans behind the Pis.
 |
 |
| No Chassis | With Chassis |
Power
For Power, I bought some short 25cm USBA to USB C charger cables, and a 4 port USB charger plug that can deliver 3.1Amps per port.
UPS
This Cluster will be running a live website, accessible via the internet, so to ensure its always available I have powered it via an uninterruptable power supply (UPS), I used the Cyberpower BR1200ELCD BRIC
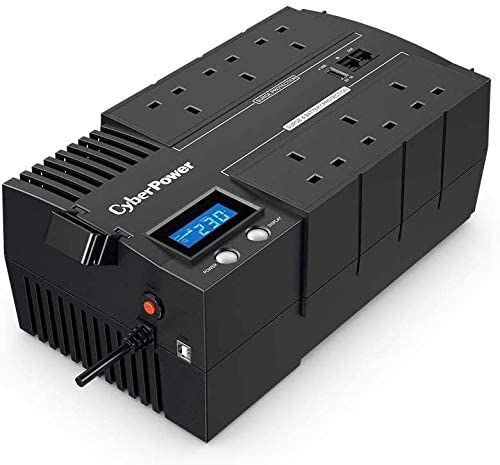
Cyberpower UPS: 1200VA/720W, with 6 UK Outlets