3D Printed Retro Cluster Console
Print your own terminal
10 January 2022 by Kevin McAleer
Overview
3d Printed Parts & STL Files
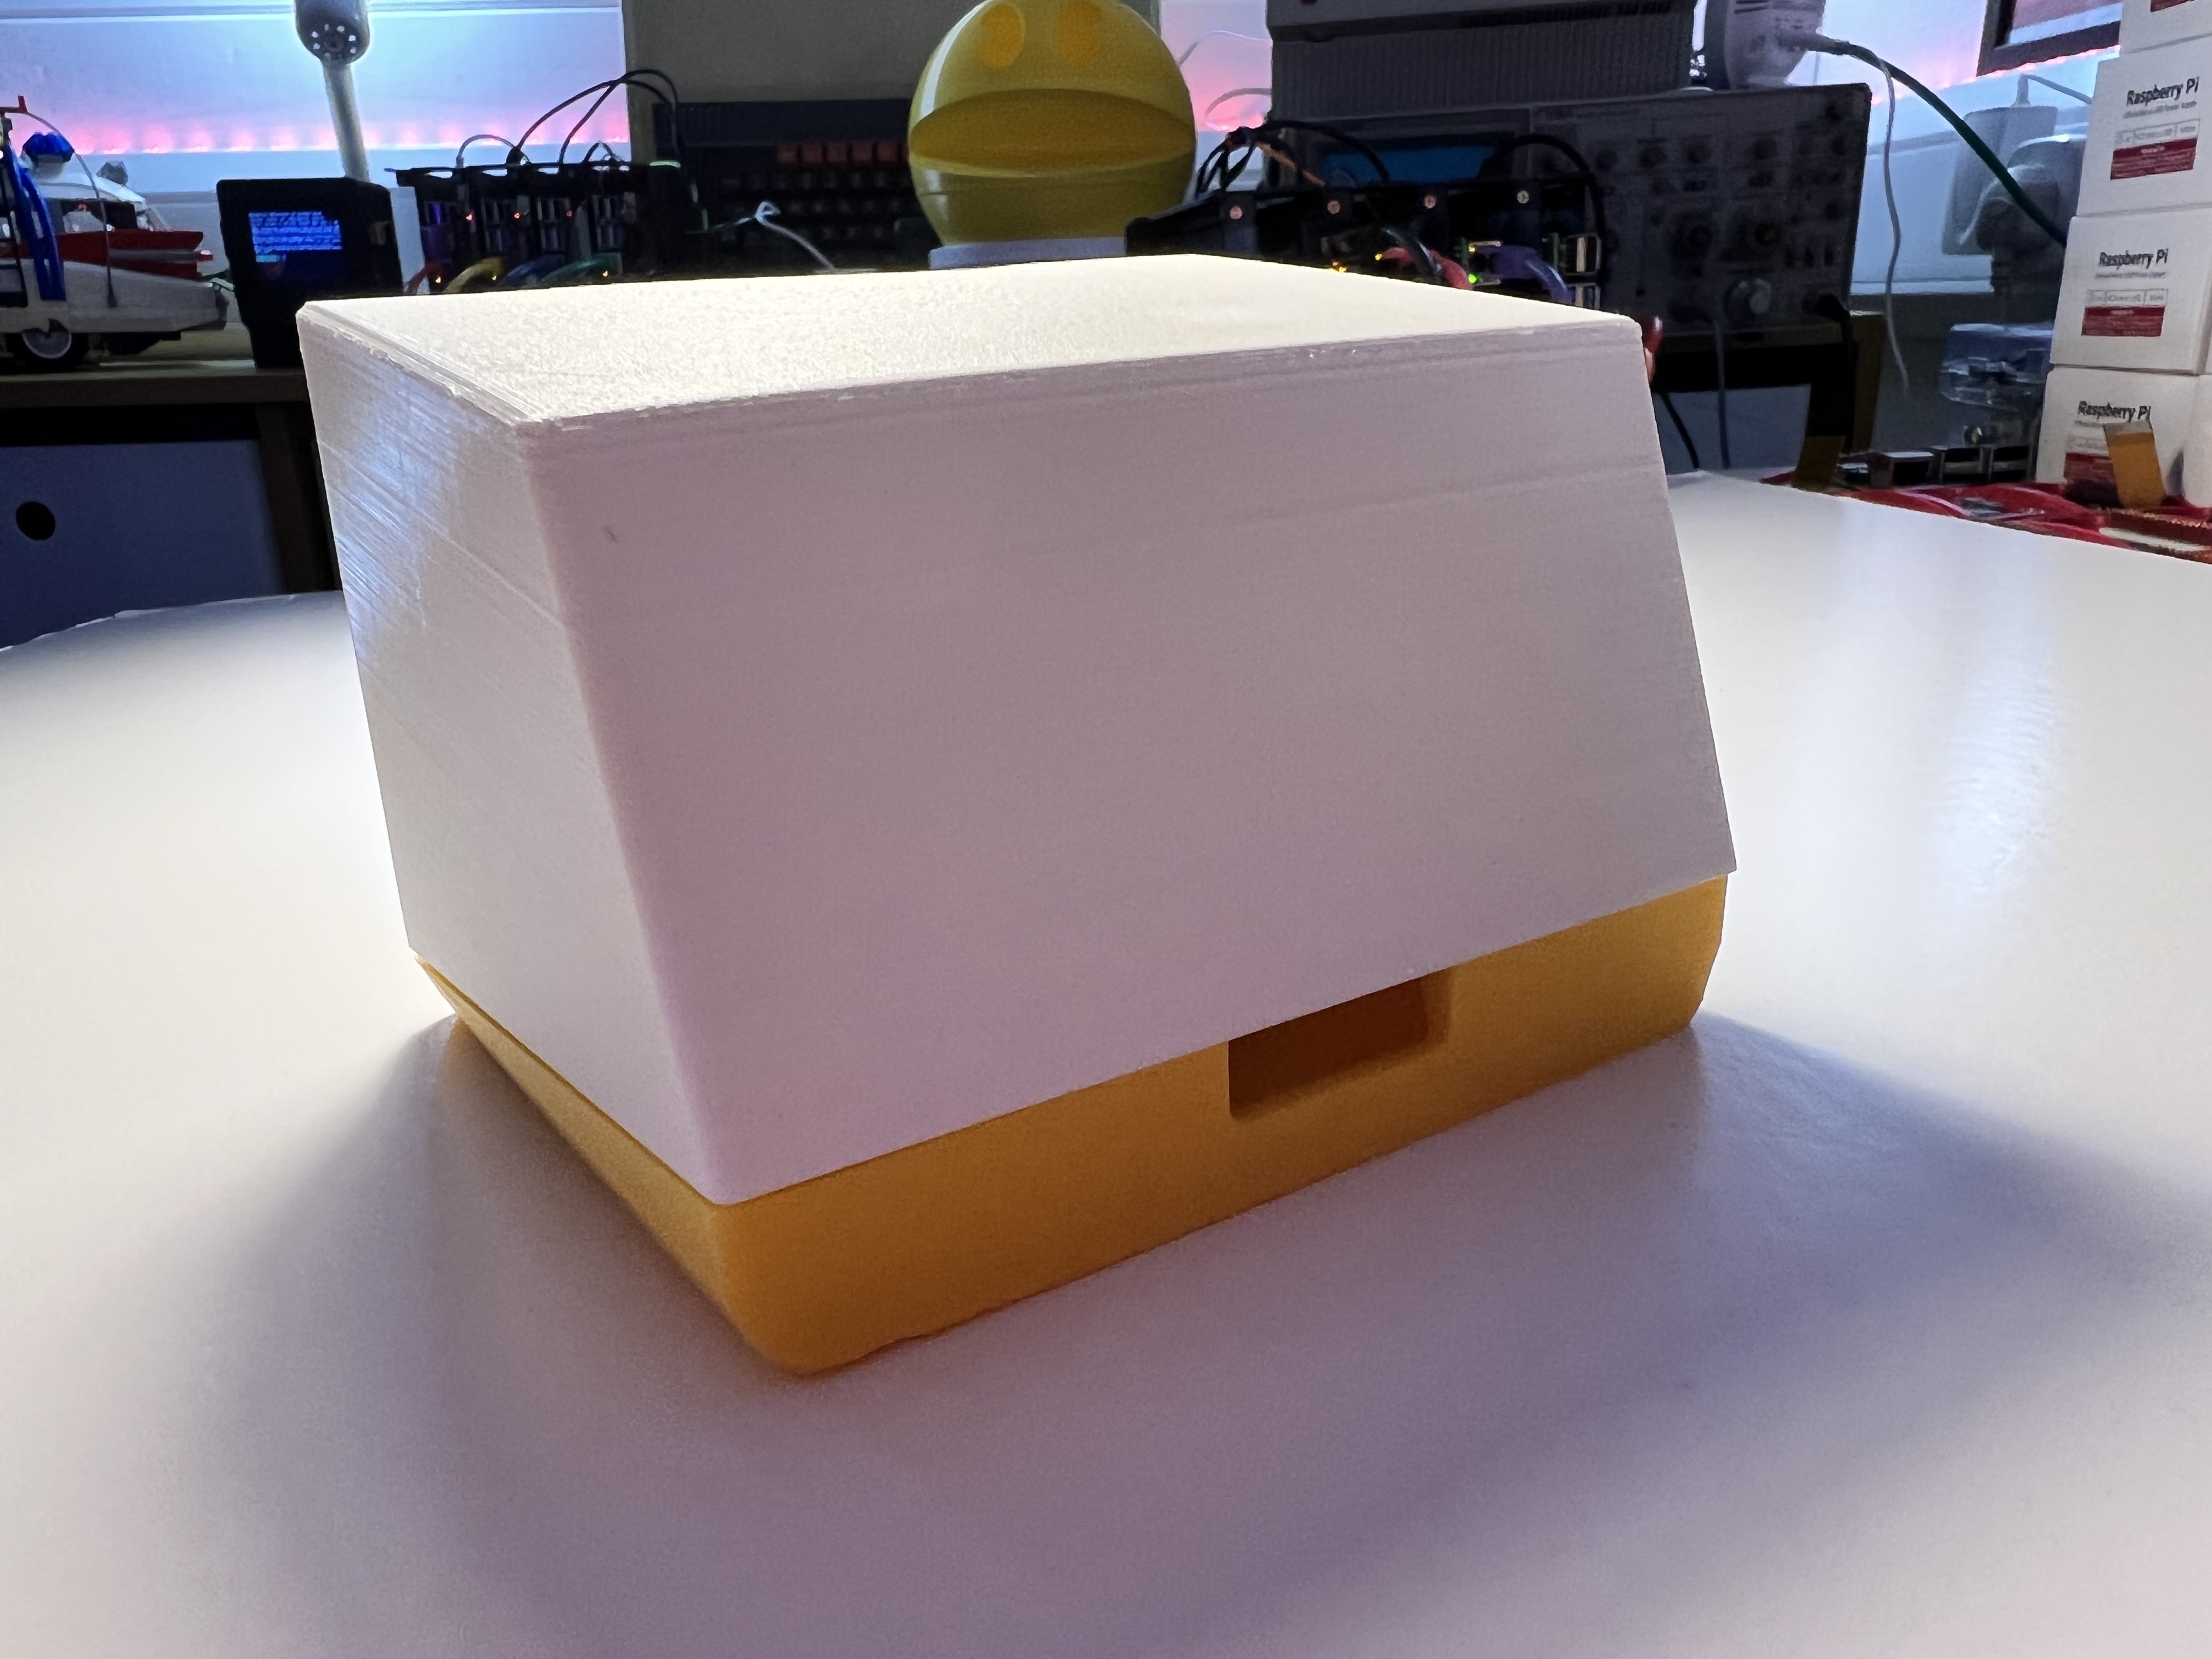
This project consists of three 3d printed parts:
| Filename | Description |
|---|---|
bottom.stl |
The bottom of the case |
Front_Case.stl |
The front section |
Shroud.stl |
The top cover |
Electronics
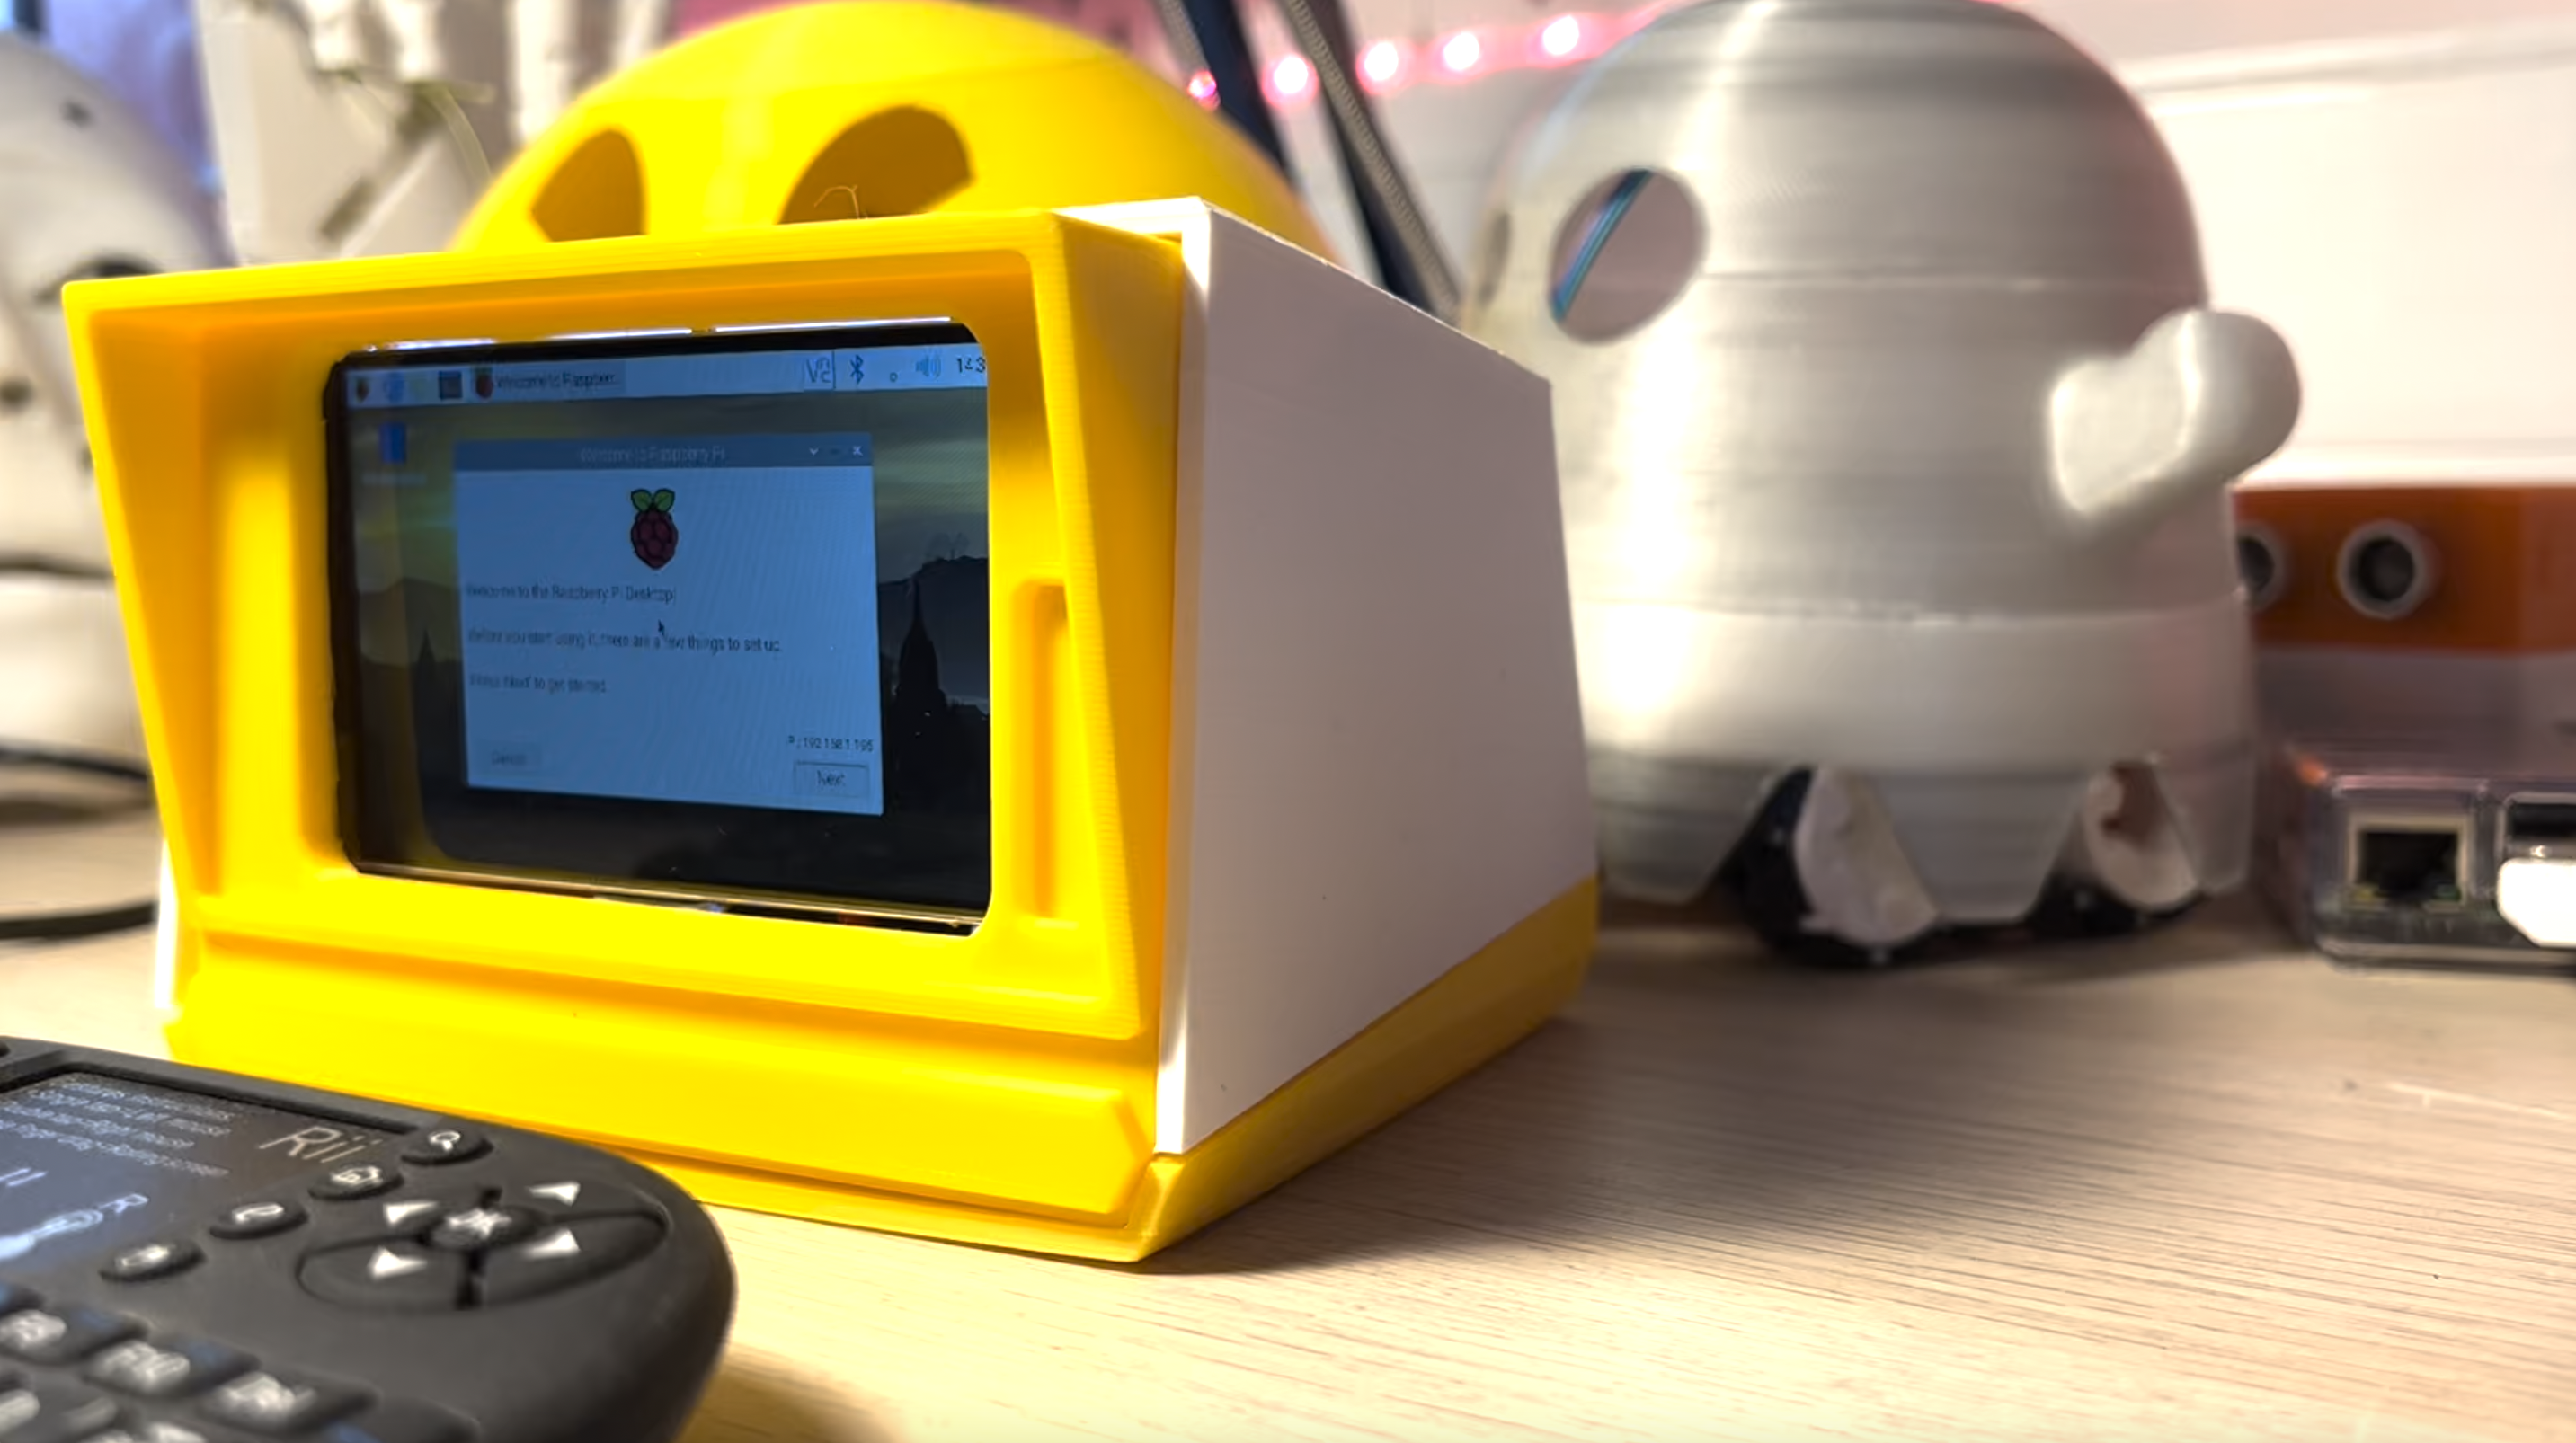
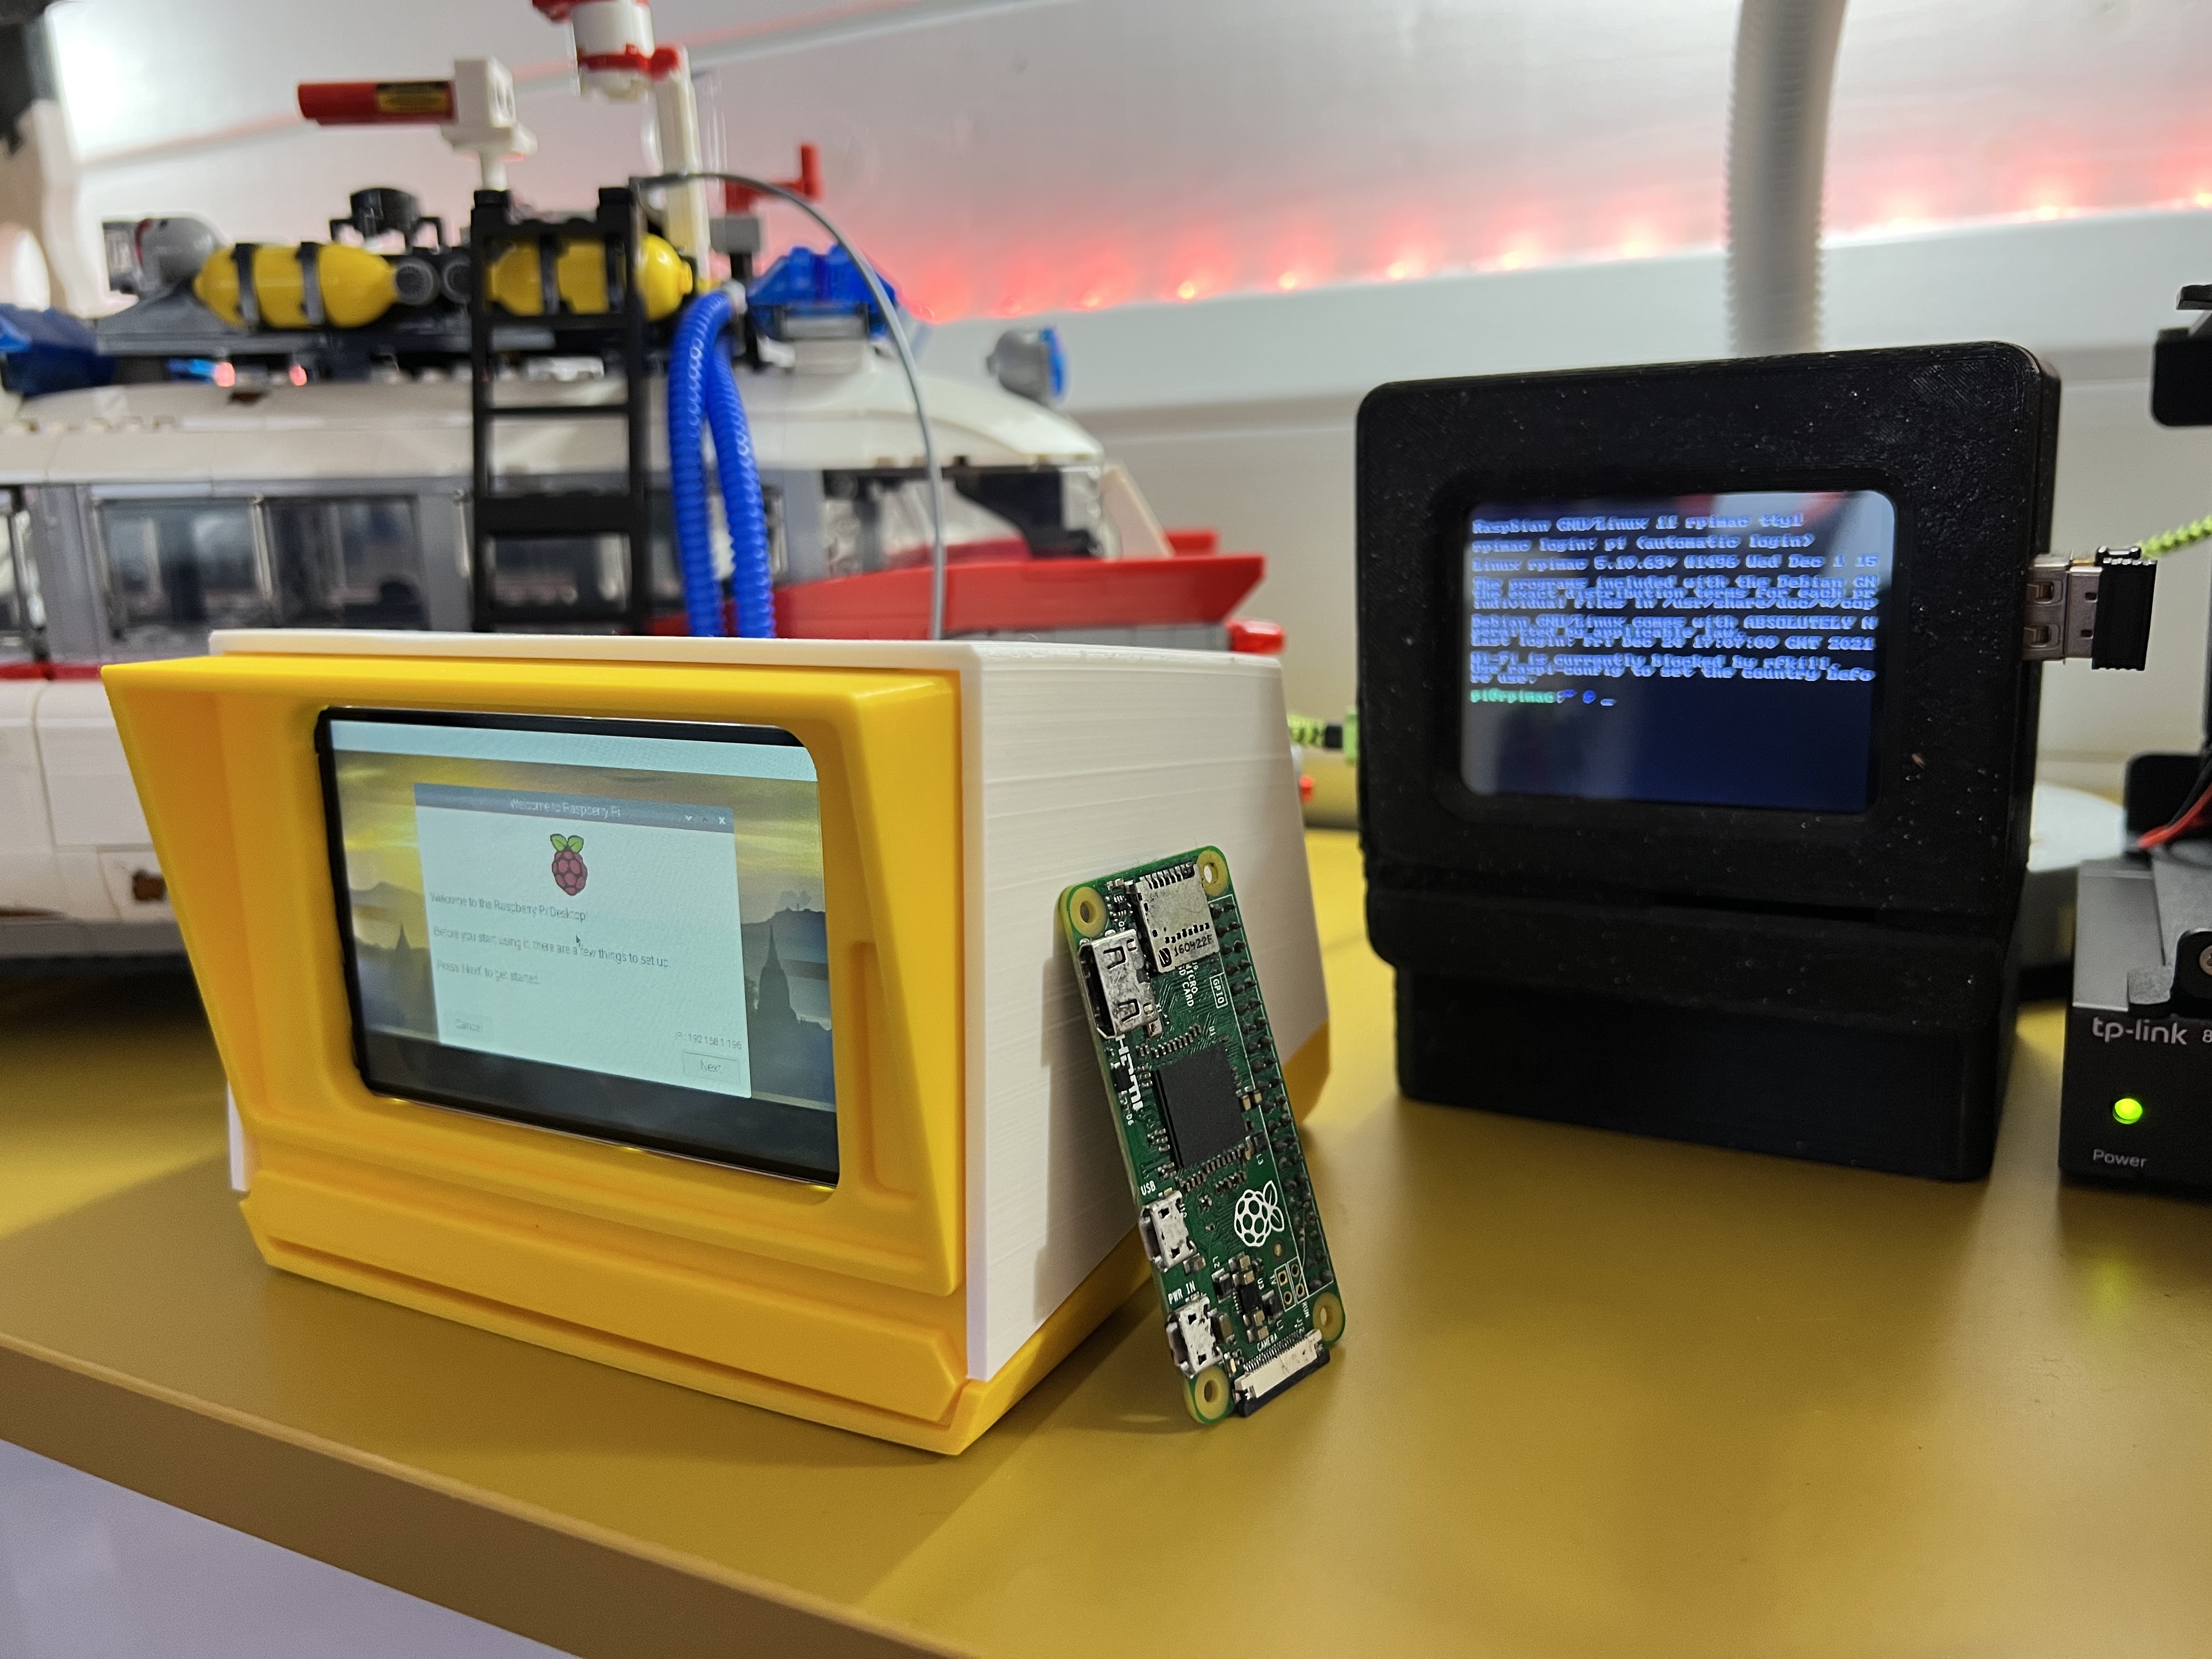
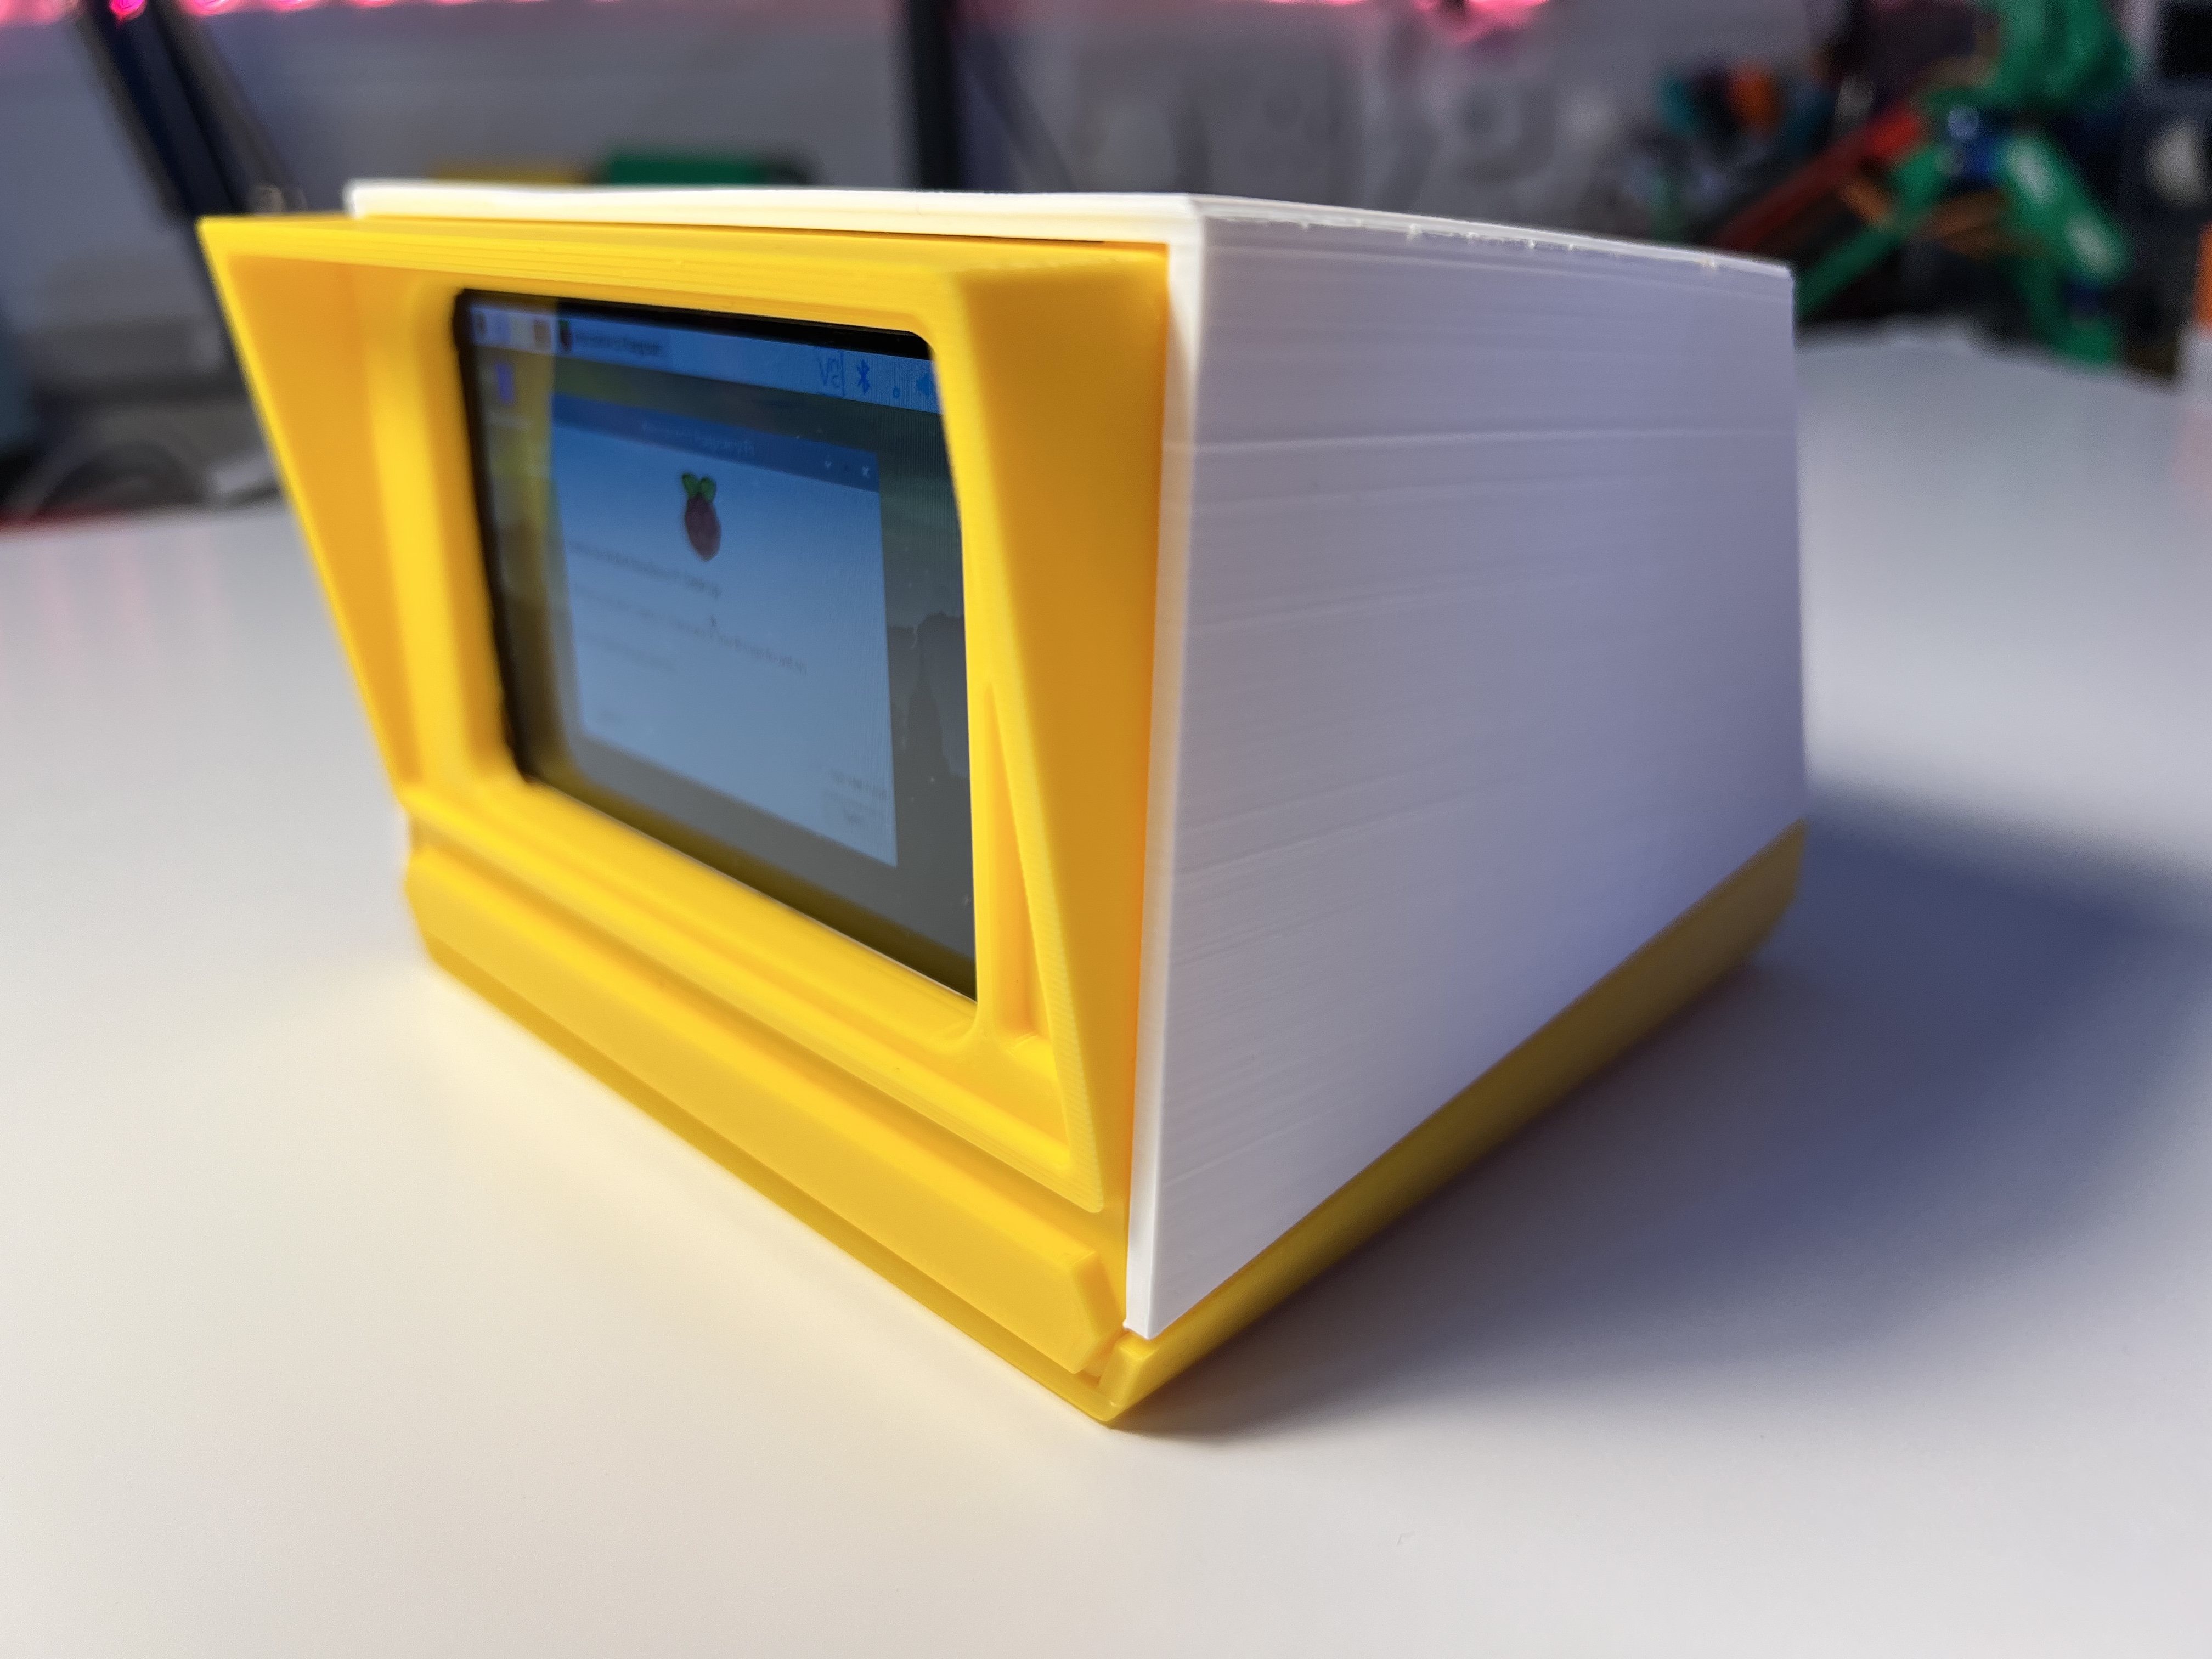
The screen used is a Pimoroni HyperPixel 4.0, and the computer is a Raspberry Pi Zero W. The project can be battery powered using a pair of 18650s and a diymore 18650 Battery Shield V8 3V 5V Micro USB Port Type-C USB for Raspberry Pi ESP32 ESP8266 Wifi
The case fits together without the need for any glue or screws. The screen might need a couple of blobs of Blutac to hold it in place.
Gallery
Here are a couple of pictures of the finished model.

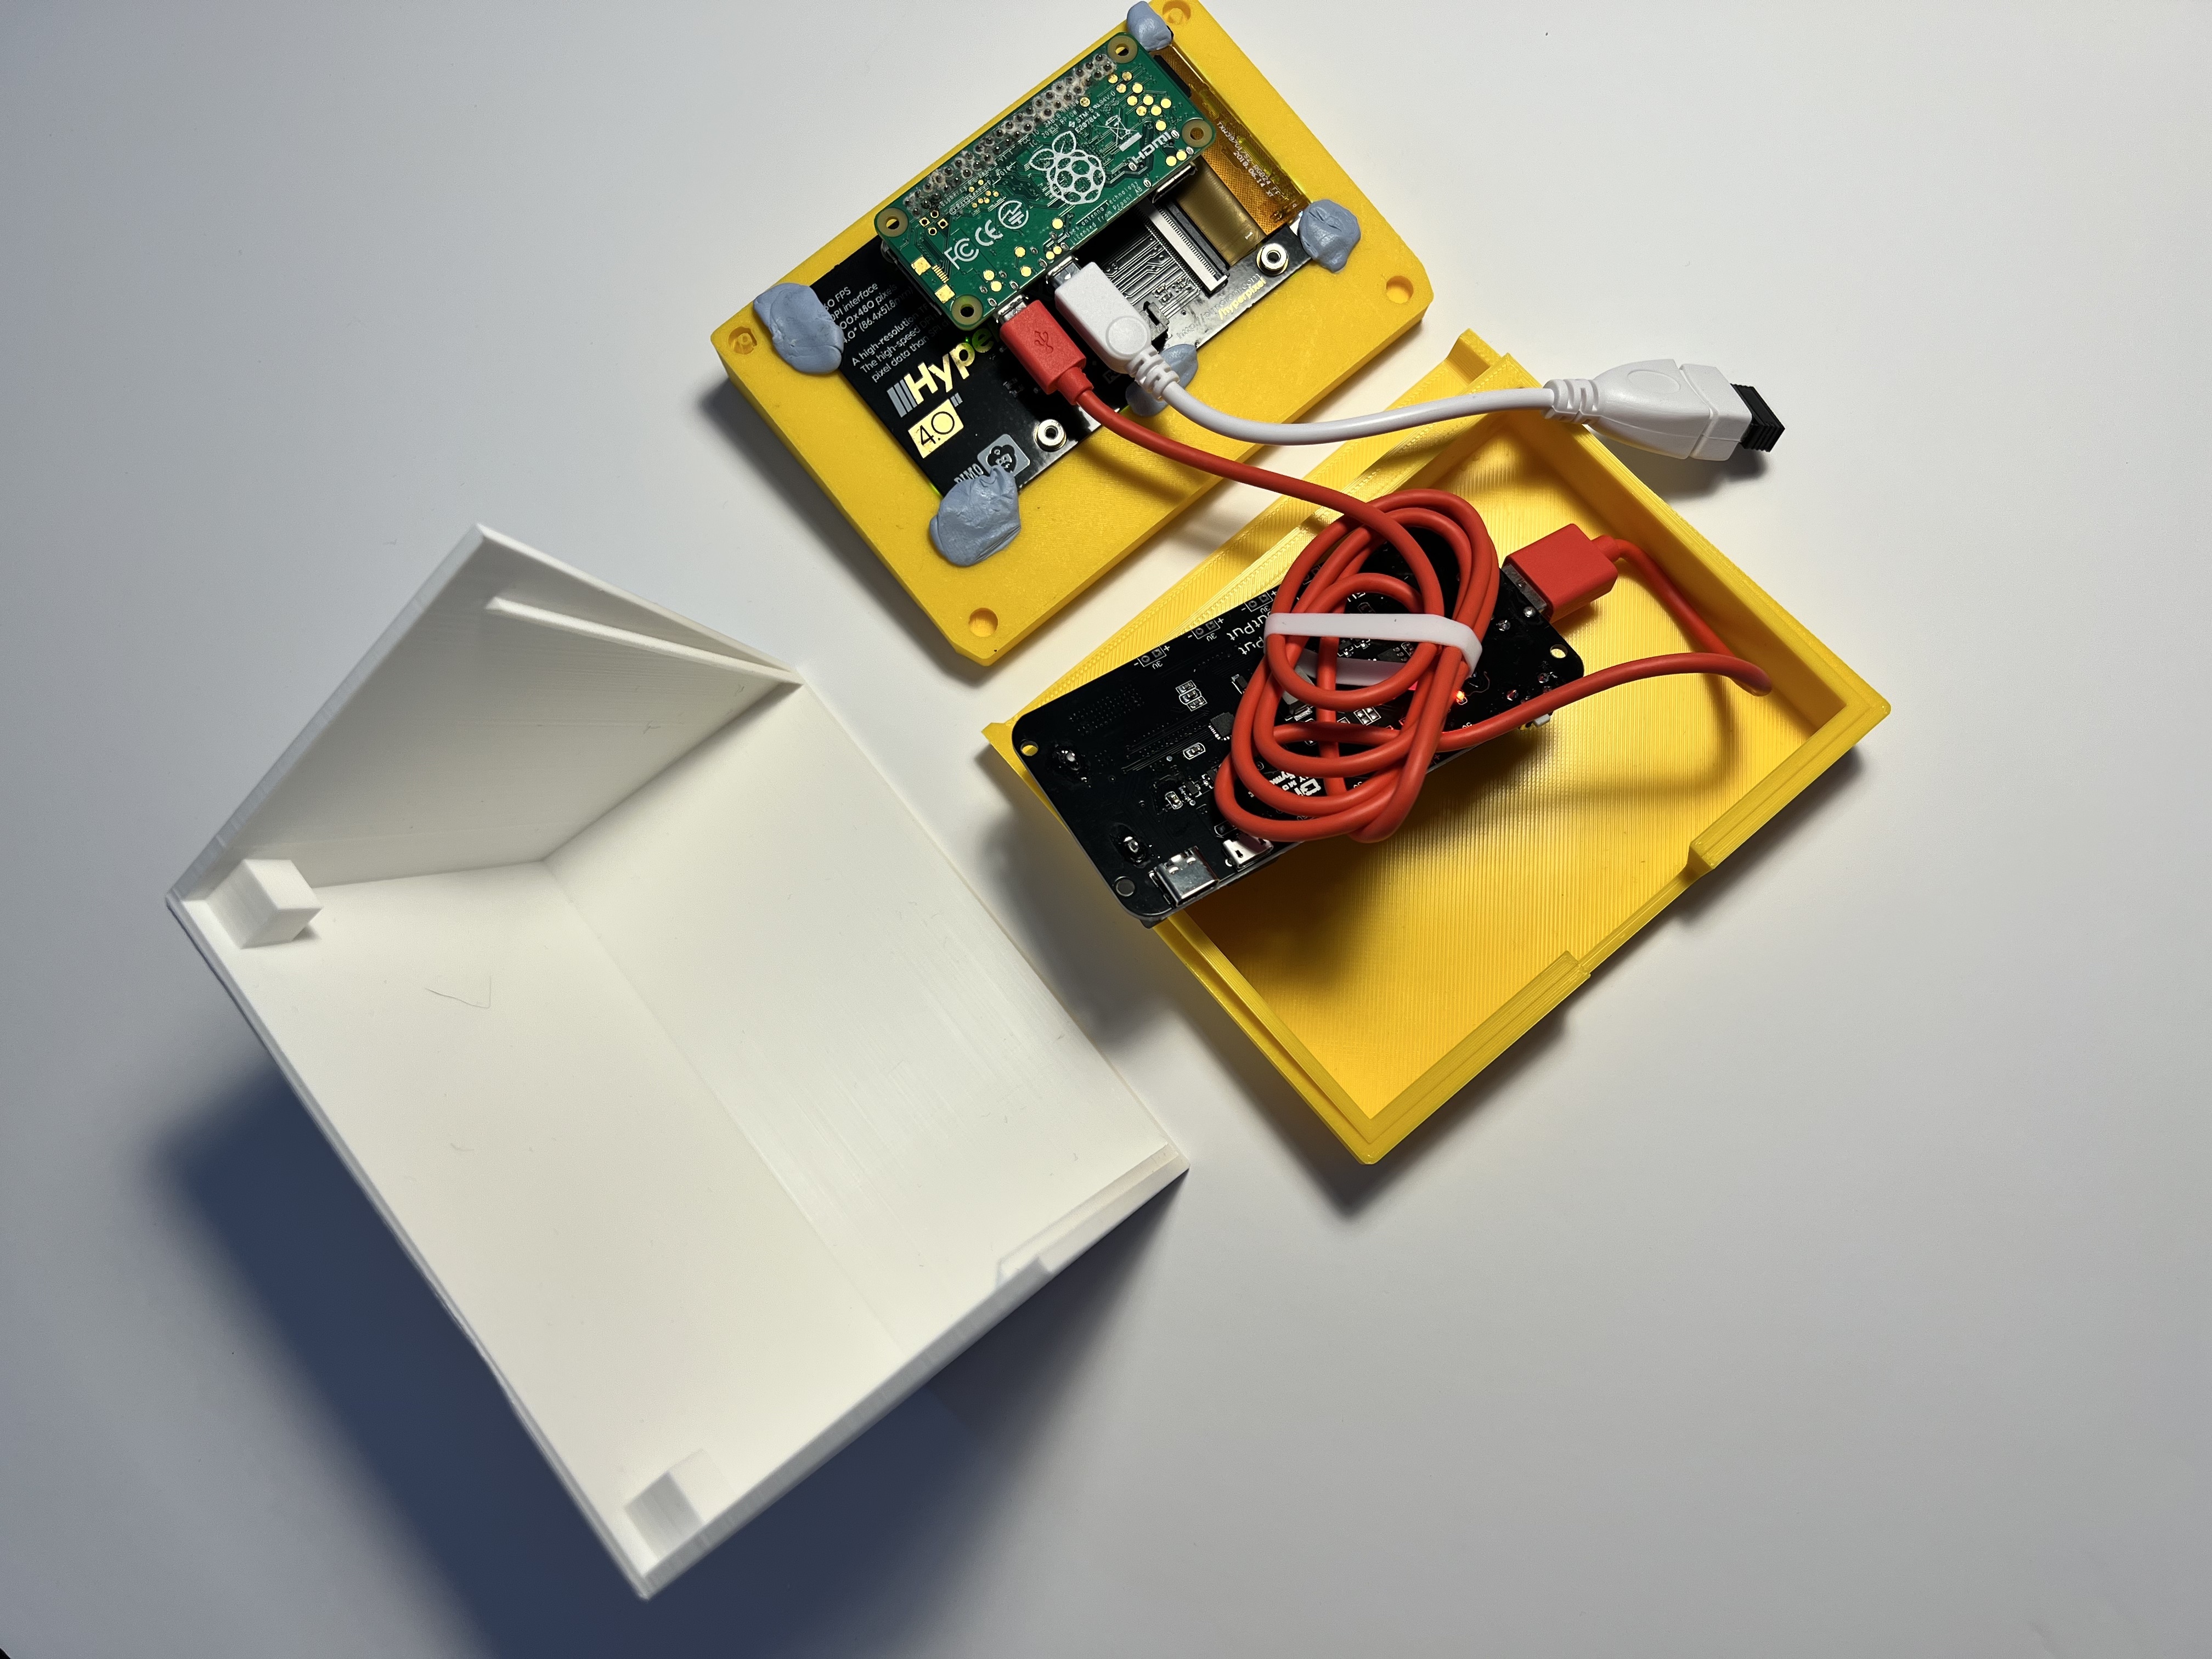
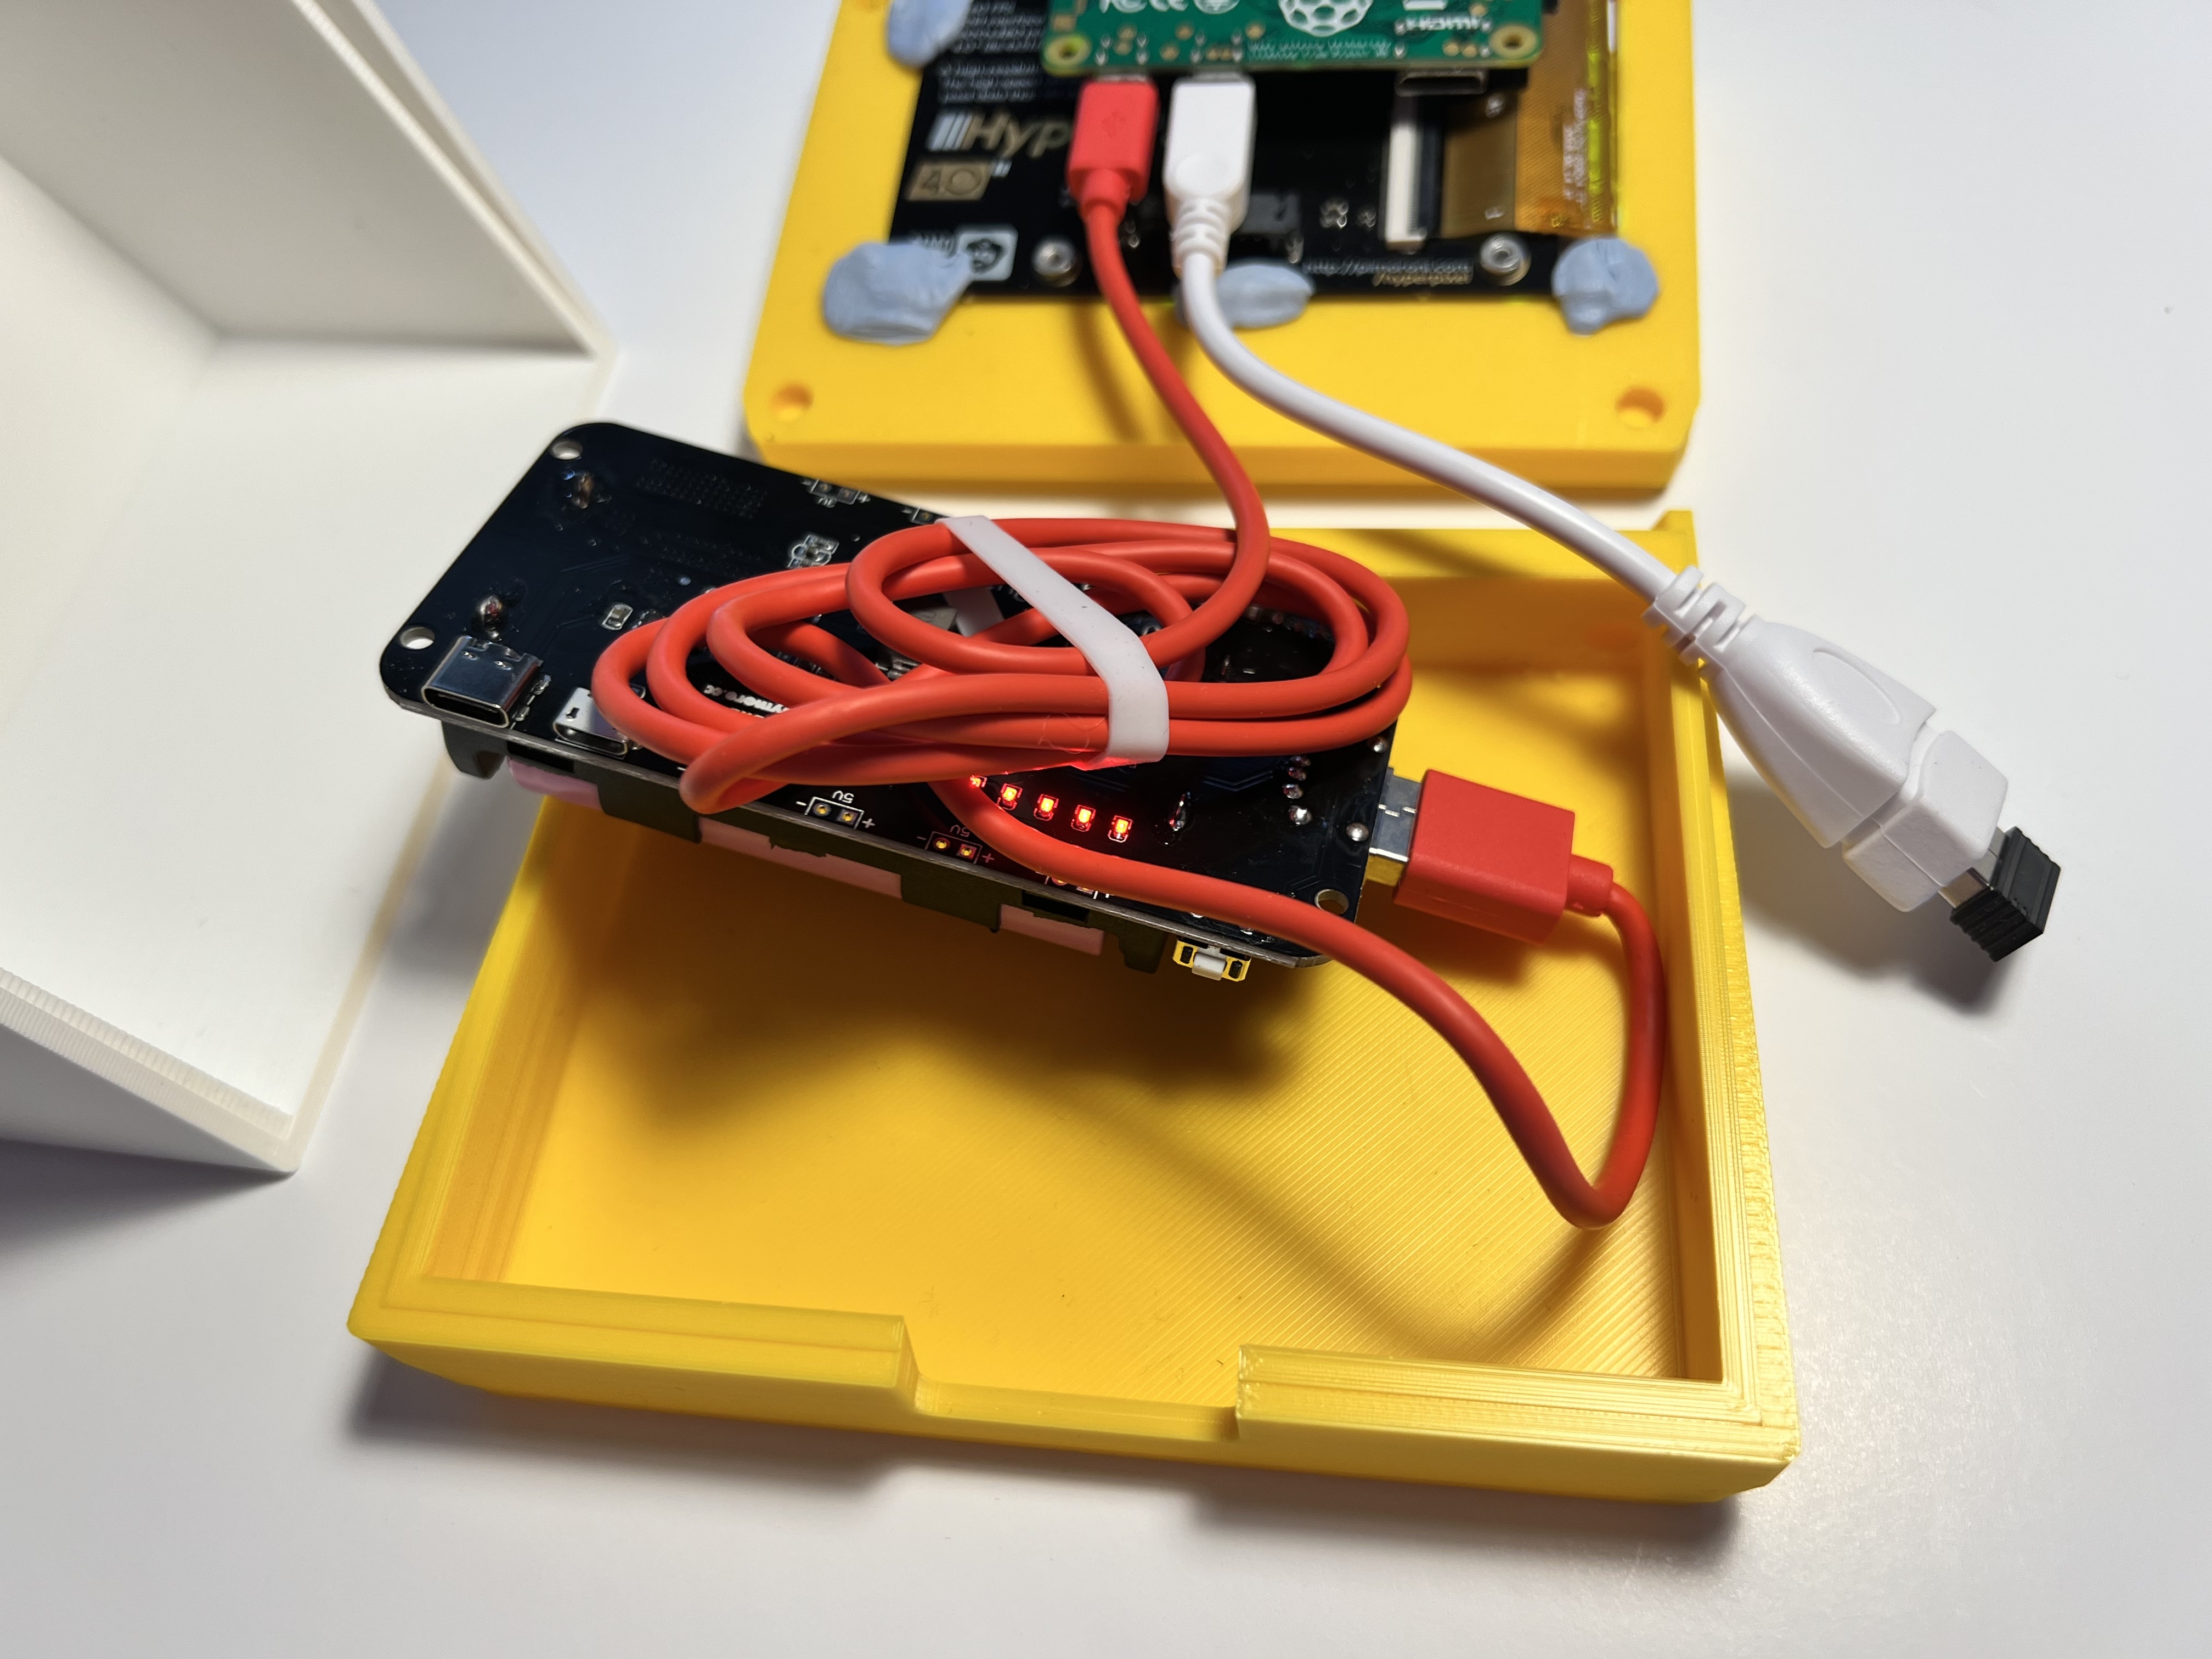

Power
The 18650 batteries last a couple of hours, and its a convenient size to use and have on the desk. You can connect a USB cable to charge the console, without having to power it down too.
Terminal hacking
Here is a cool way to extend the terminal to make it even more fun.
I’ve also connected up a wireless keyboard to the Raspberry Pi (this version uses RF, rather than bluetooth, but a bluetooth keyboard will work fine too).
To quickly setup the Raspberry Pi Console - see this article on the Raspberry Pi Imager.
I hope you enjoy this project! Kevin
PS this is also available on Hackster.io